Summary: Dave and Angi use decorative rope-work to cover bottles. Dave uses knots and Angi crochets. Included is a great recipe for rum punch using ingredients readily available when cruising.You might also want to check out our Knots page or our Selected Books section under the Knots and Marlinspike category for a list of good books on decorative knots and rope work.
|
Click to jump to:
Dave's Bottle #1 - Built using Turk's Heads, Crown Knots, and a Round Plait
Angi's Bottle - Done via Crochet
Dave's Bottle #2 - Built using Turk's Heads, St. Mary's Hitching, Carrick Bends, and an Ocean Plait
Main Knots Page - Our main page on Knots with lots of how-to videos and photos of functional and decorative knots
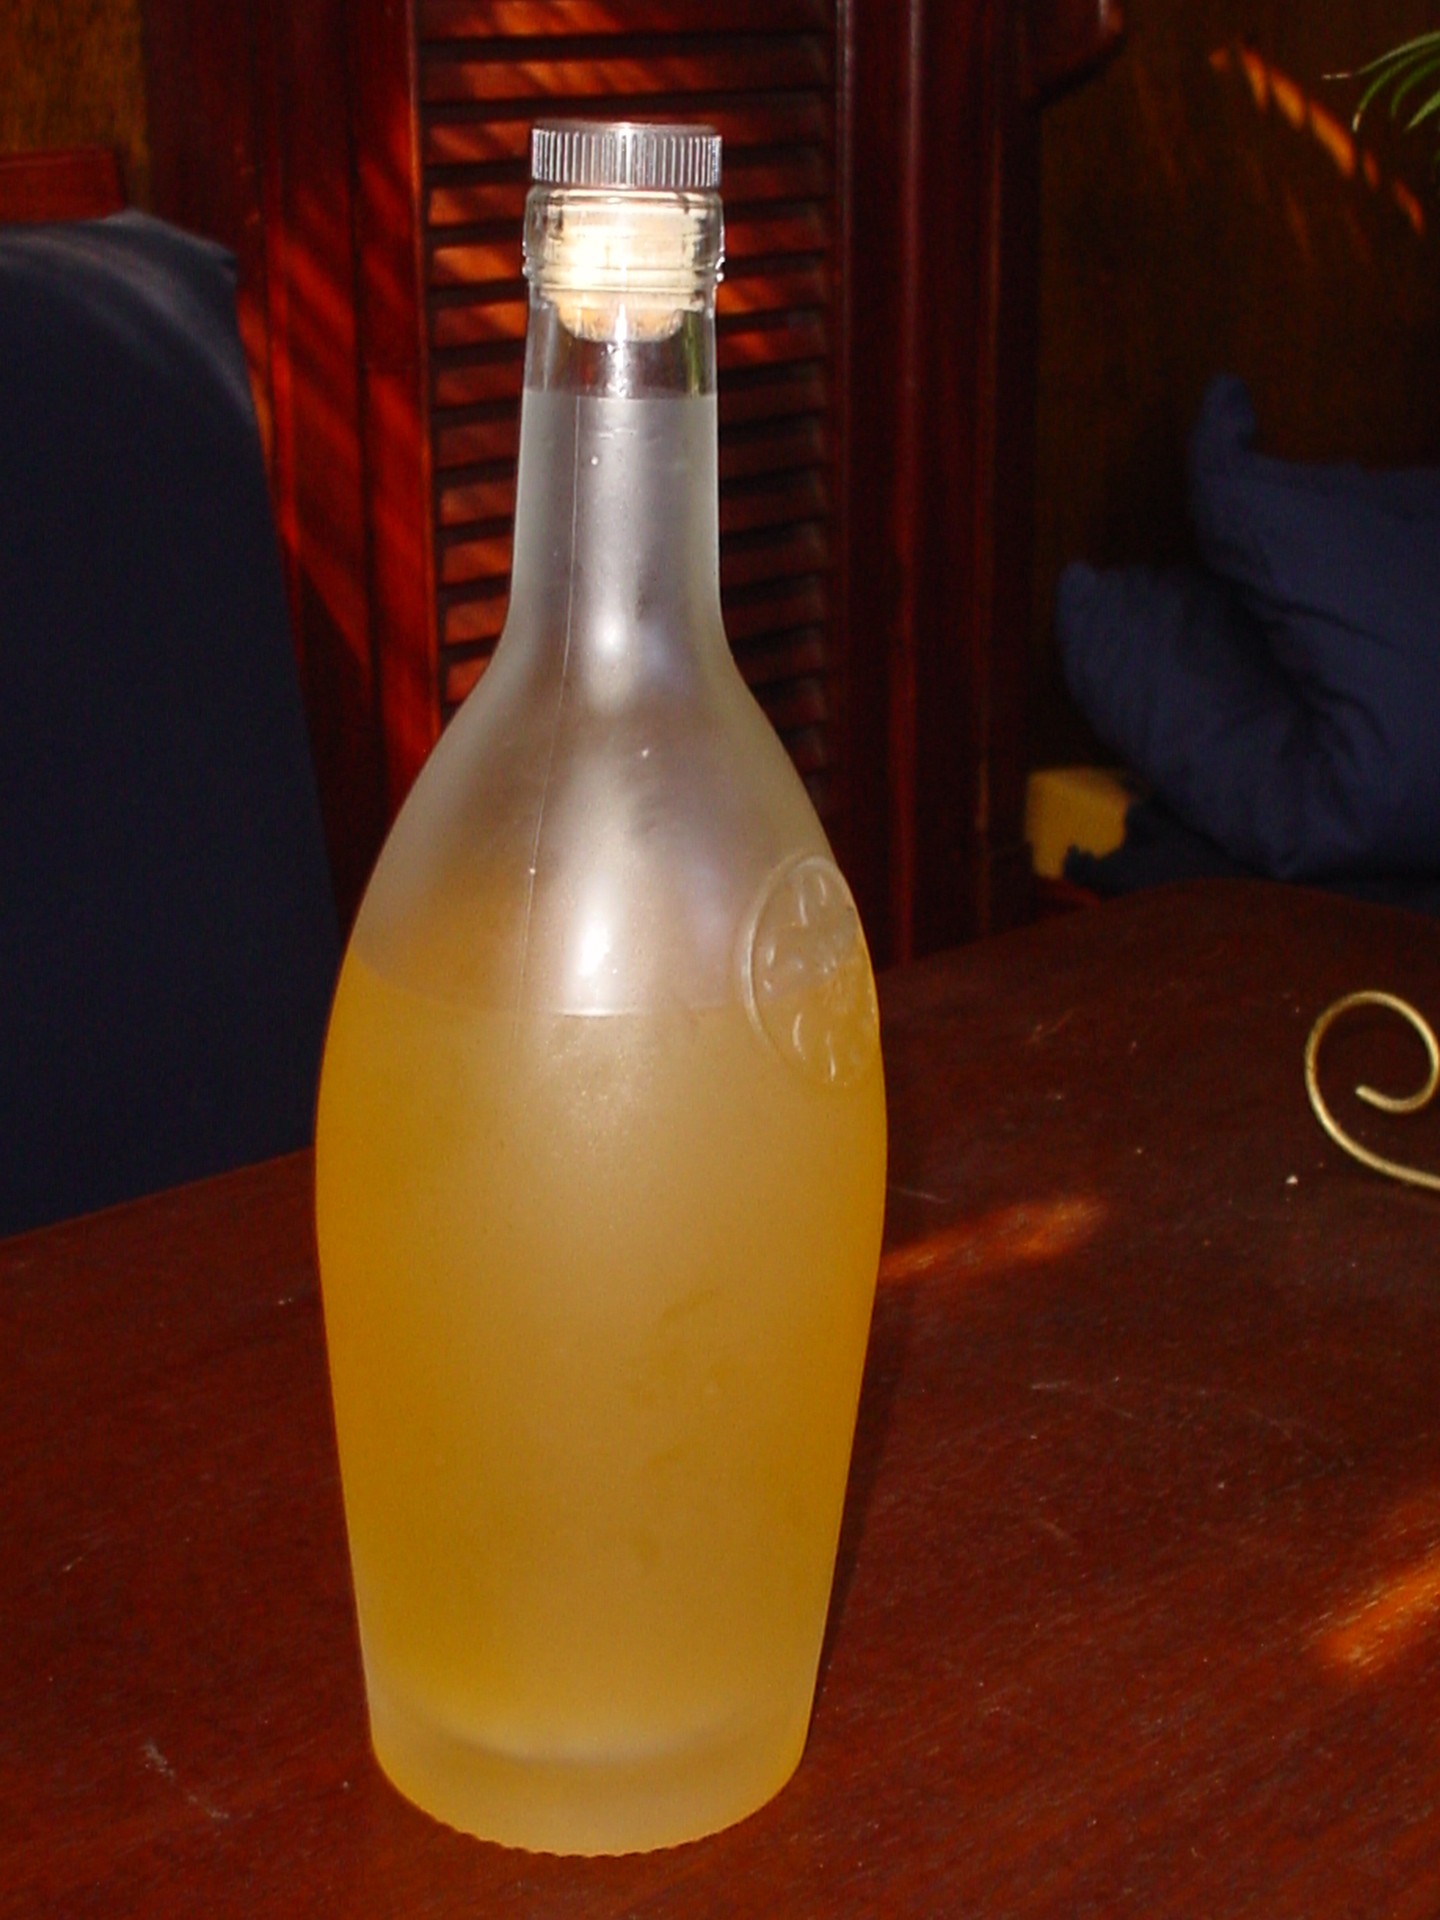
For my birthday, Uncle Toi gave me a really nice liqueur in a bottle with an interesting shape and frosting to the glass with a cork stopper. After finishing the liqueur, we kept the bottle for a rainy-day project on this year's (2008) trip to Main Duck and Waupoos Islands.
We didn't really get a rainy day, but I found some time to cover the bottle with some decorative and protective rope work. With the rope covering the bottle, it's immune to the clanking around that happens on boats, and we think it looks pretty good - has a nice 'salty' look to it.
You'll notice that the bottle isn't empty... during the trip we discovered in one of our cruising books, a recipe for a rum punch. It would have been smarter to do the rope-work with an empty bottle, but we were keen on trying the punch! The recipe is included at the end of the project below.
Here's how it went (click the photos for a larger image):
|
|
The original bottle with our own rum punch concoction in it. |
|
|
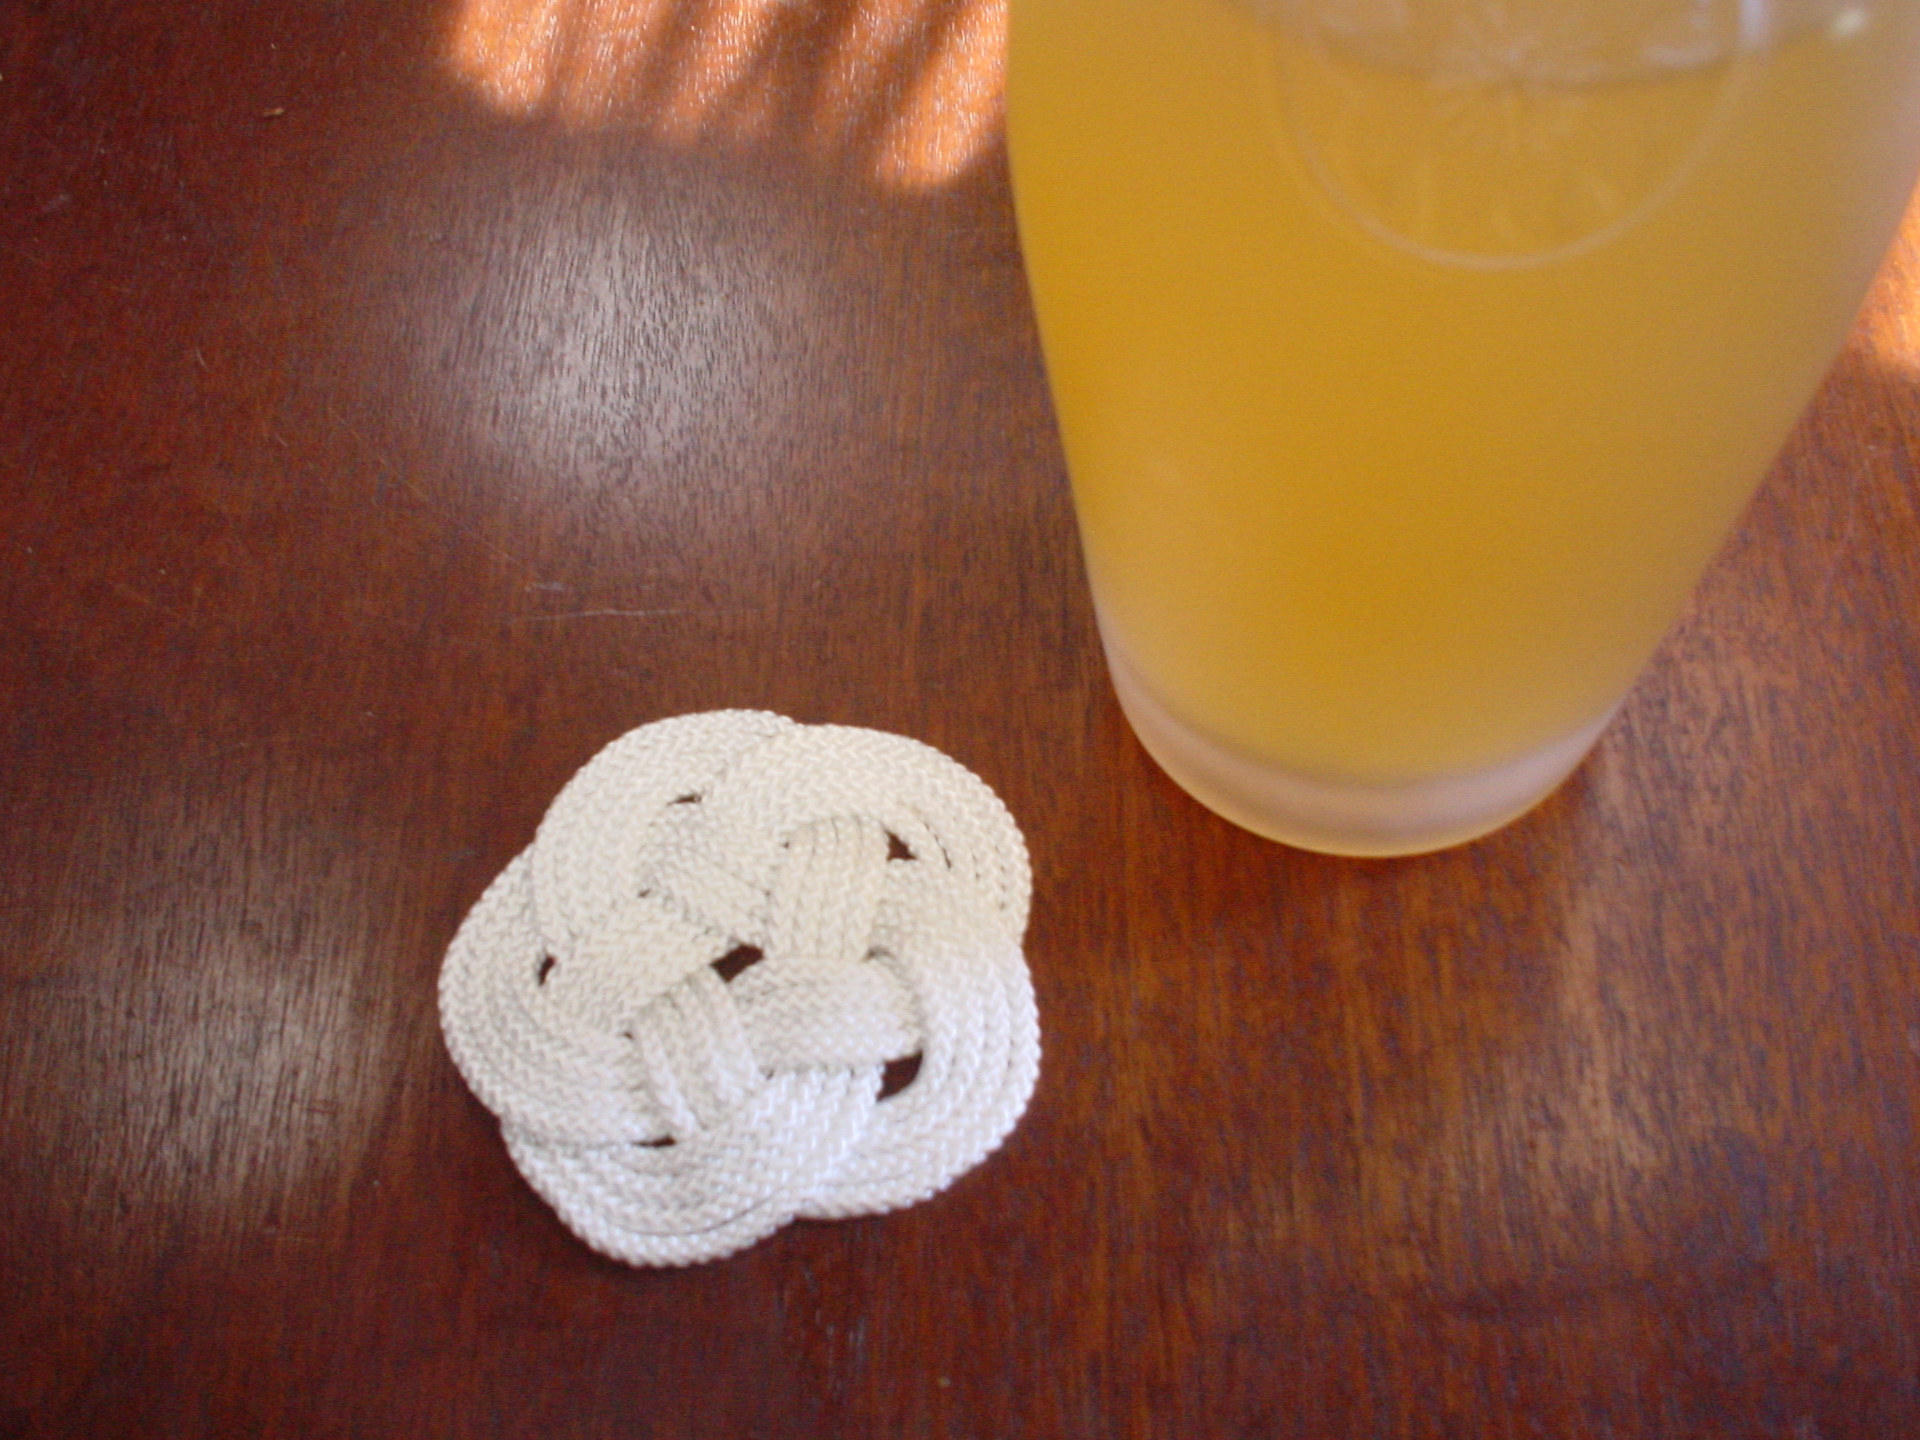
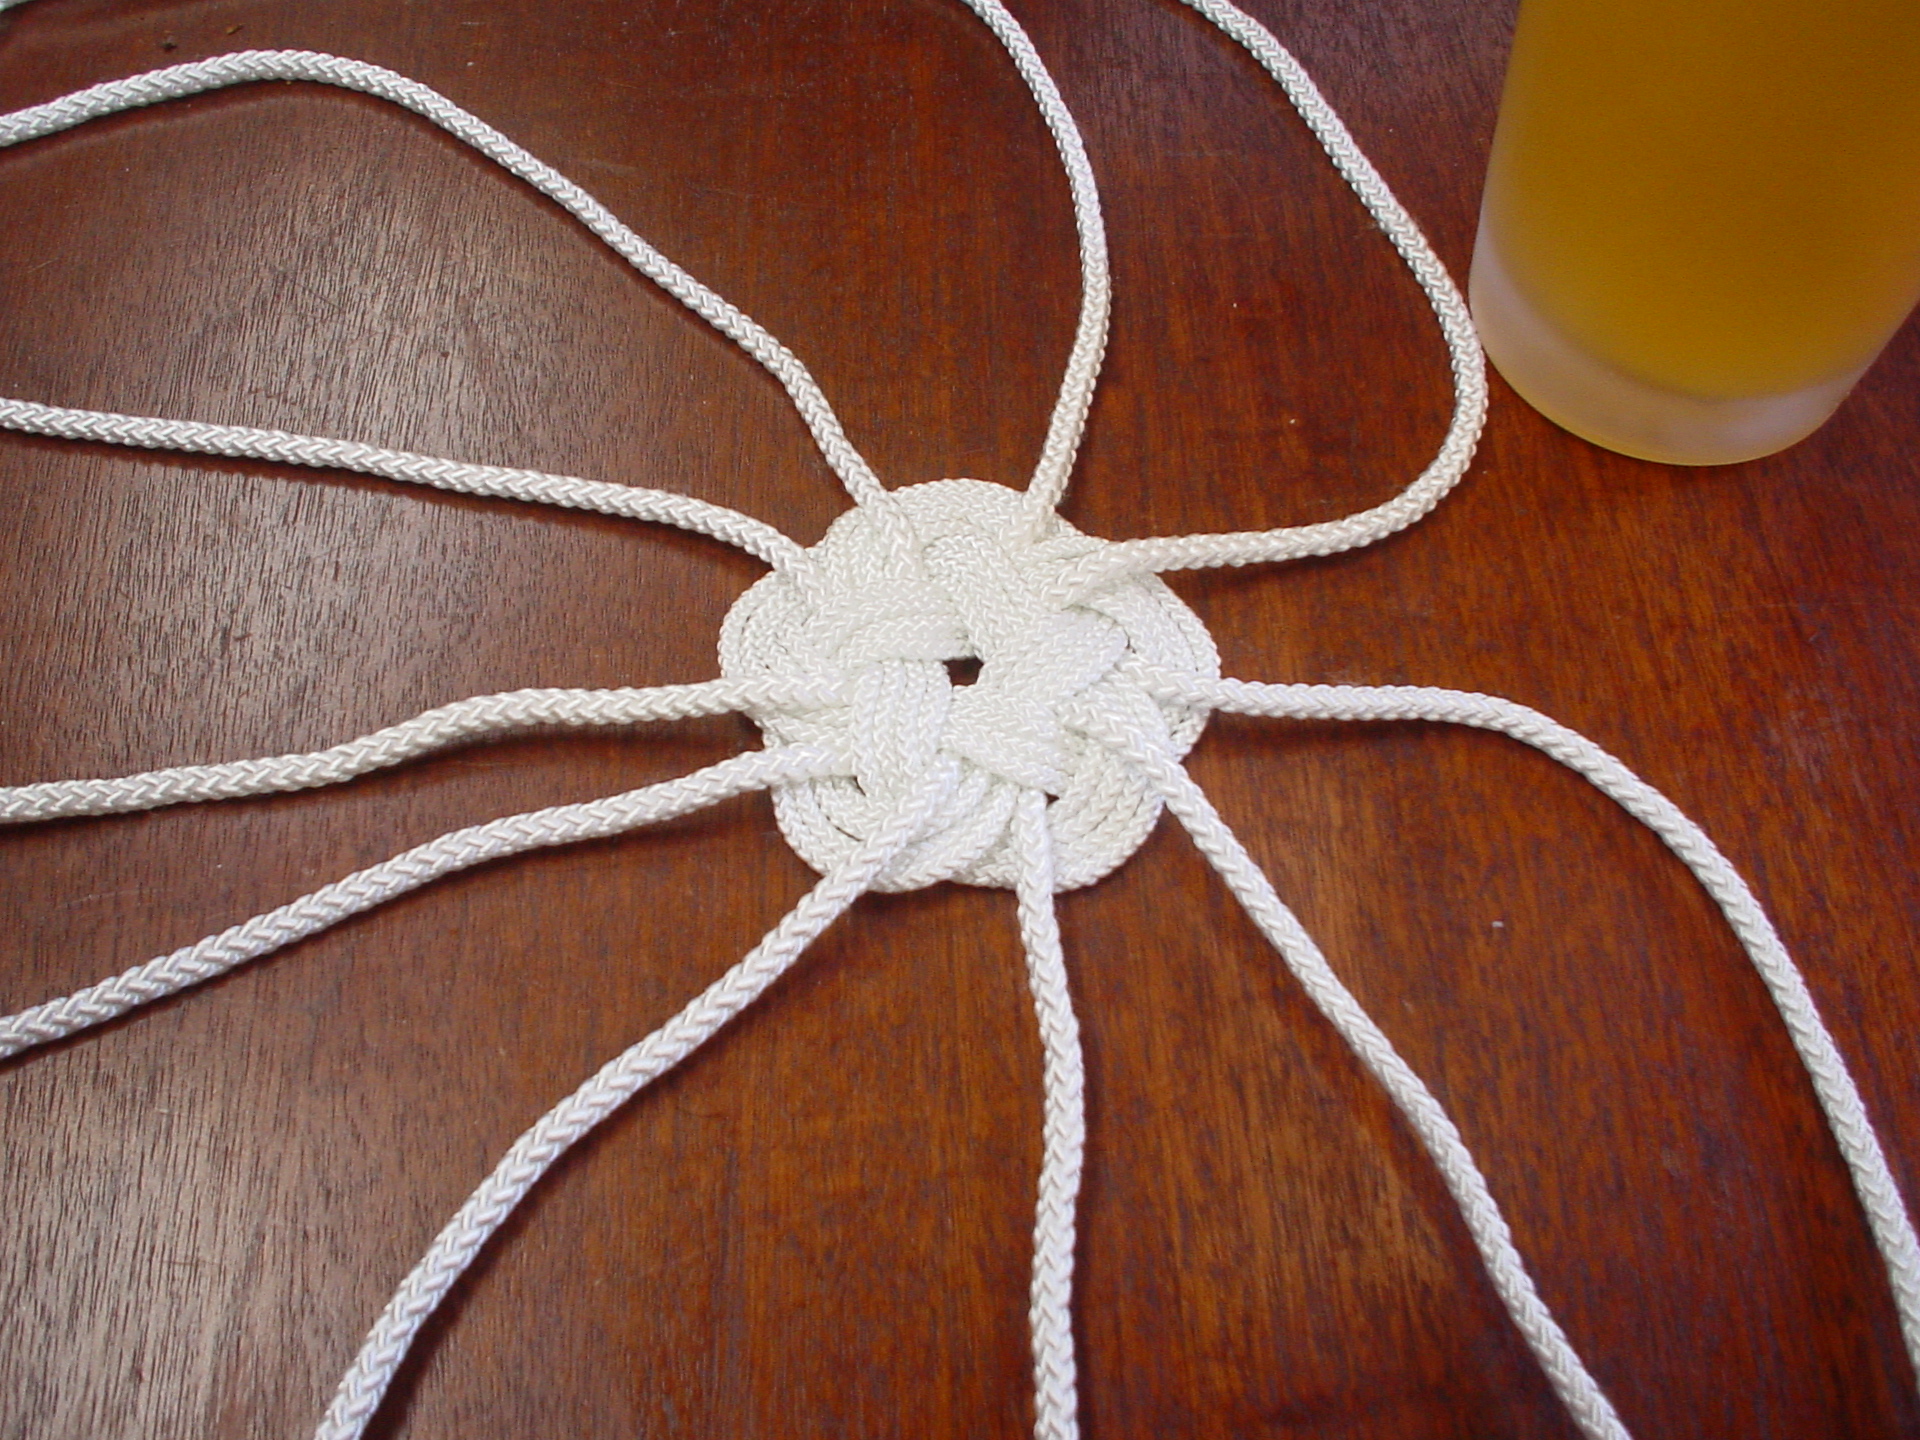
Started with a "Round Plait" to act as a coaster for the bottom of the bottle and an attachment point for the rope strands. |
|
|
The "Good" side of the round plait with the individual strands attached - I actually sewed them to the plait. |
|
|
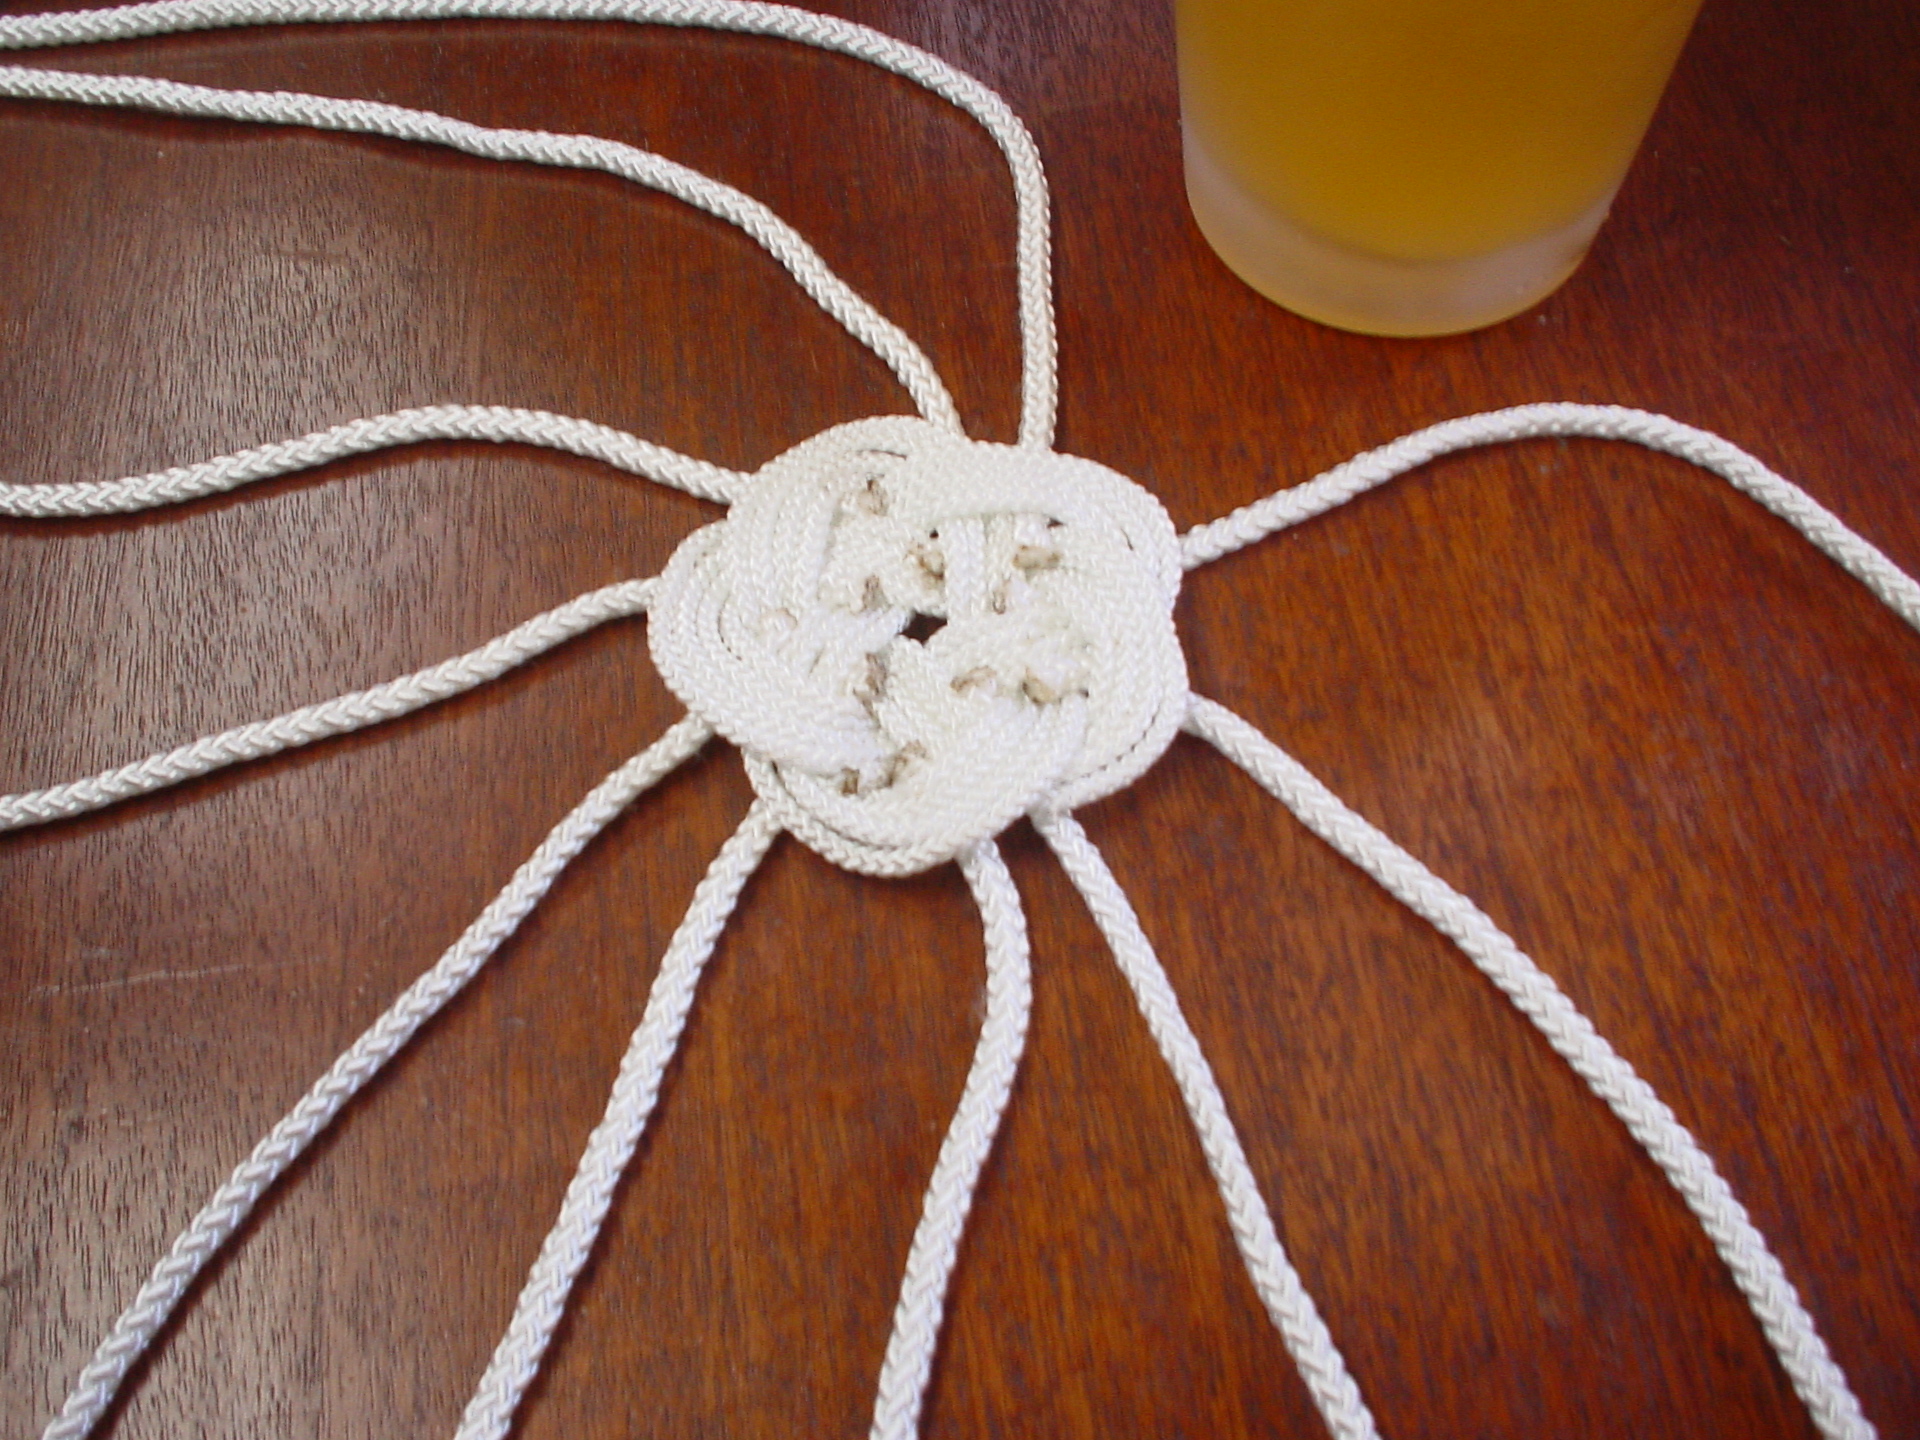
The "Bad" side of the round plait - this side will be facing the bottom of the bottle when done. |
|
|
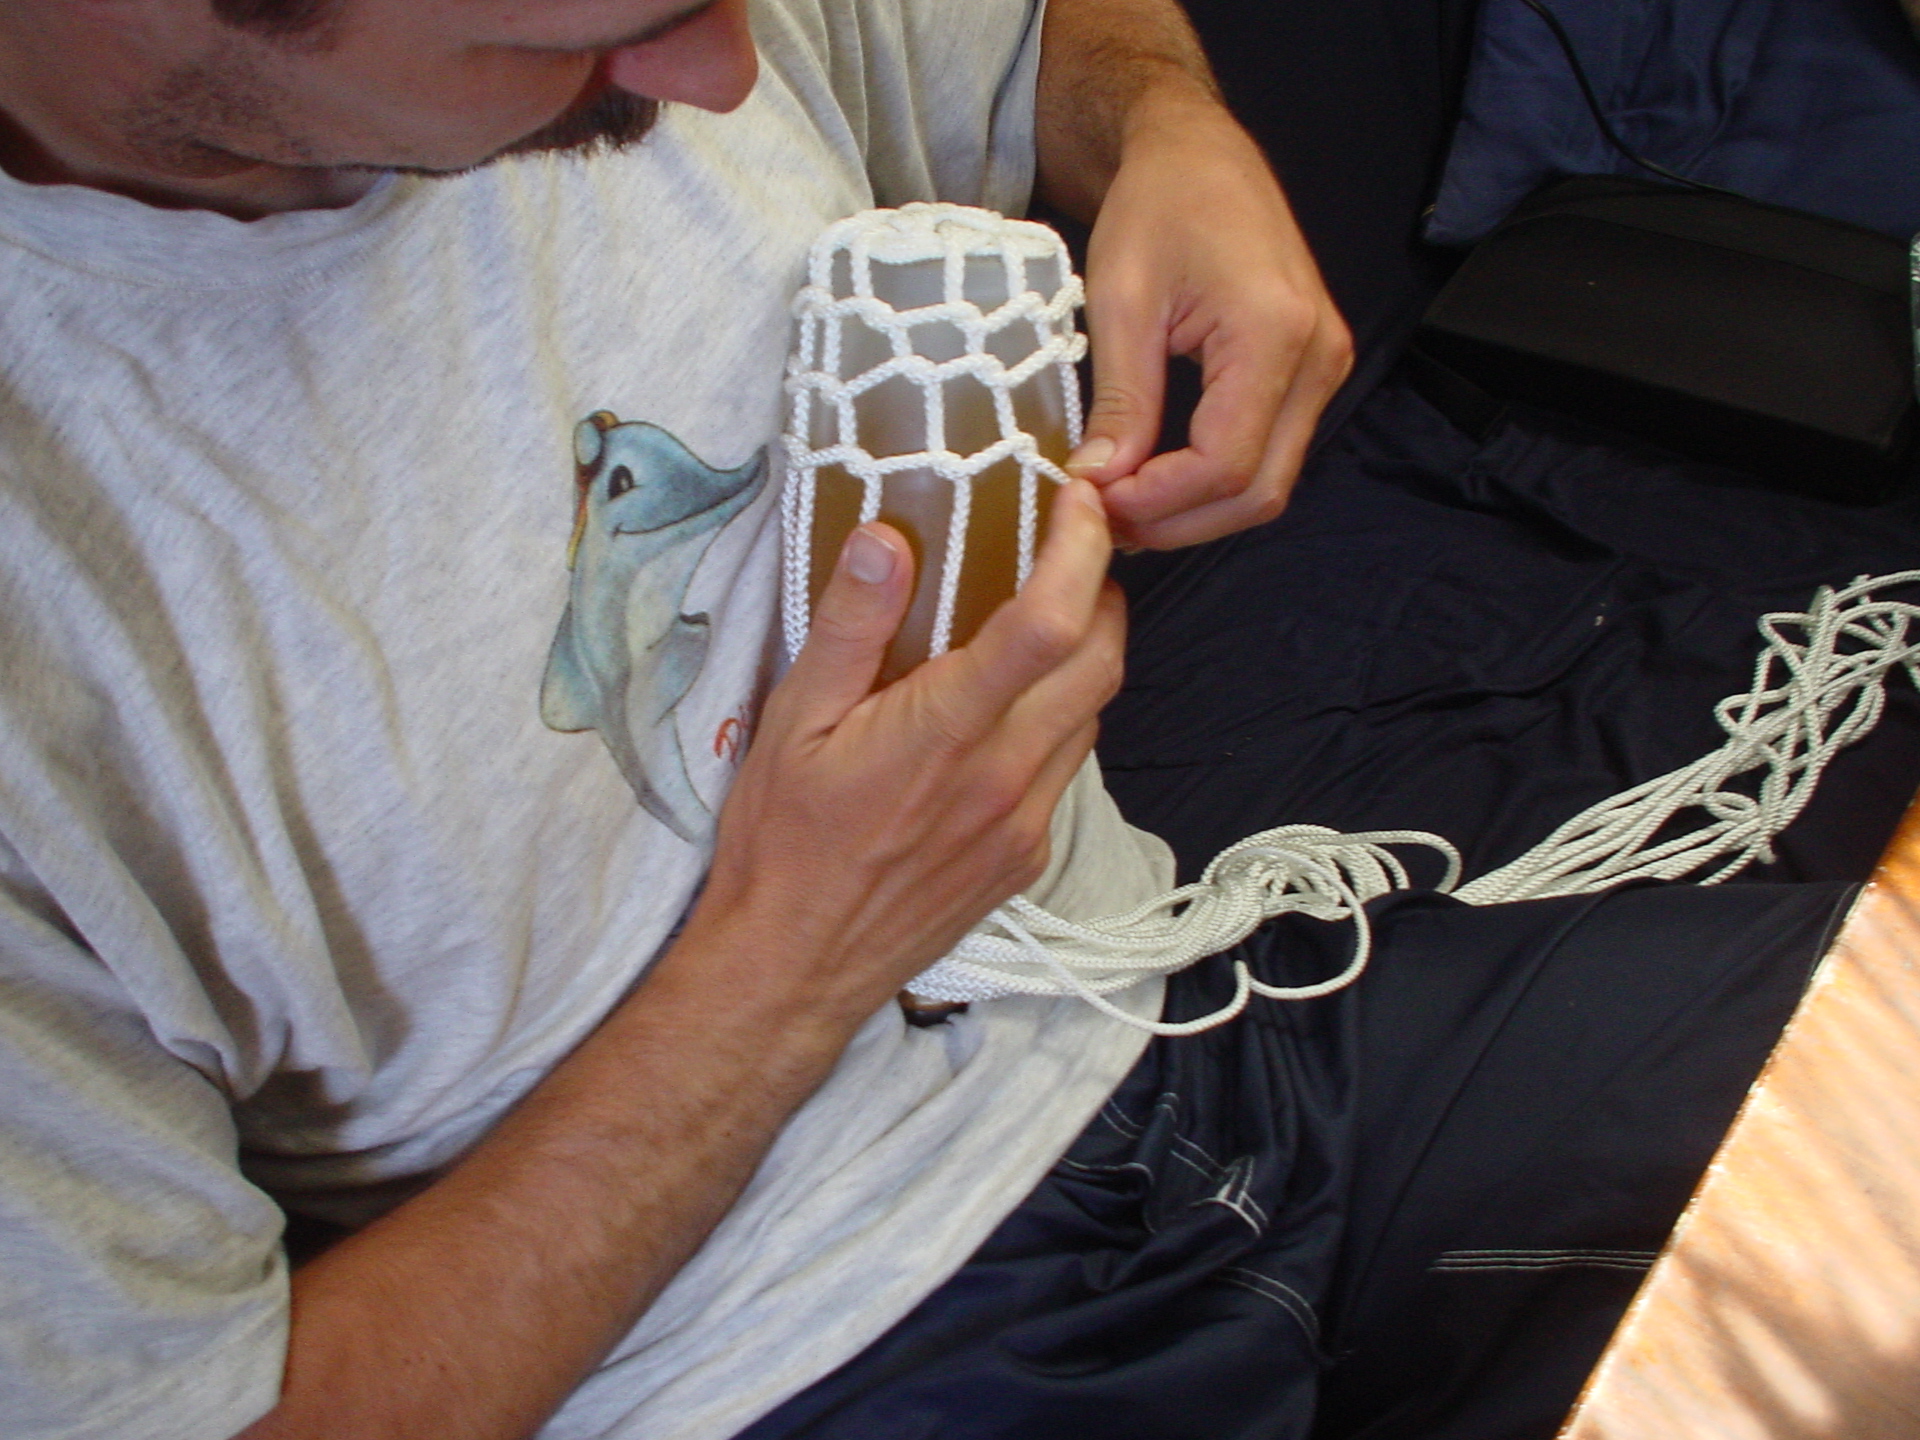
The covering process - basically doing a series of Crown knots with the 10 strands. The bottle was quite slippery, so I was happy just to get them vaguely in position, and spent time afterwards tensioning and evening everything out. |
|
|
I finished things at the neck of the bottle with two close rows of Crown Knots, then a row of Wall Knots. To cover and secure the end of the 10 strands, a very tight Turk's Head Knot was applied over the strand ends directly adjacent to the last row of Wall Knots. |
|
|
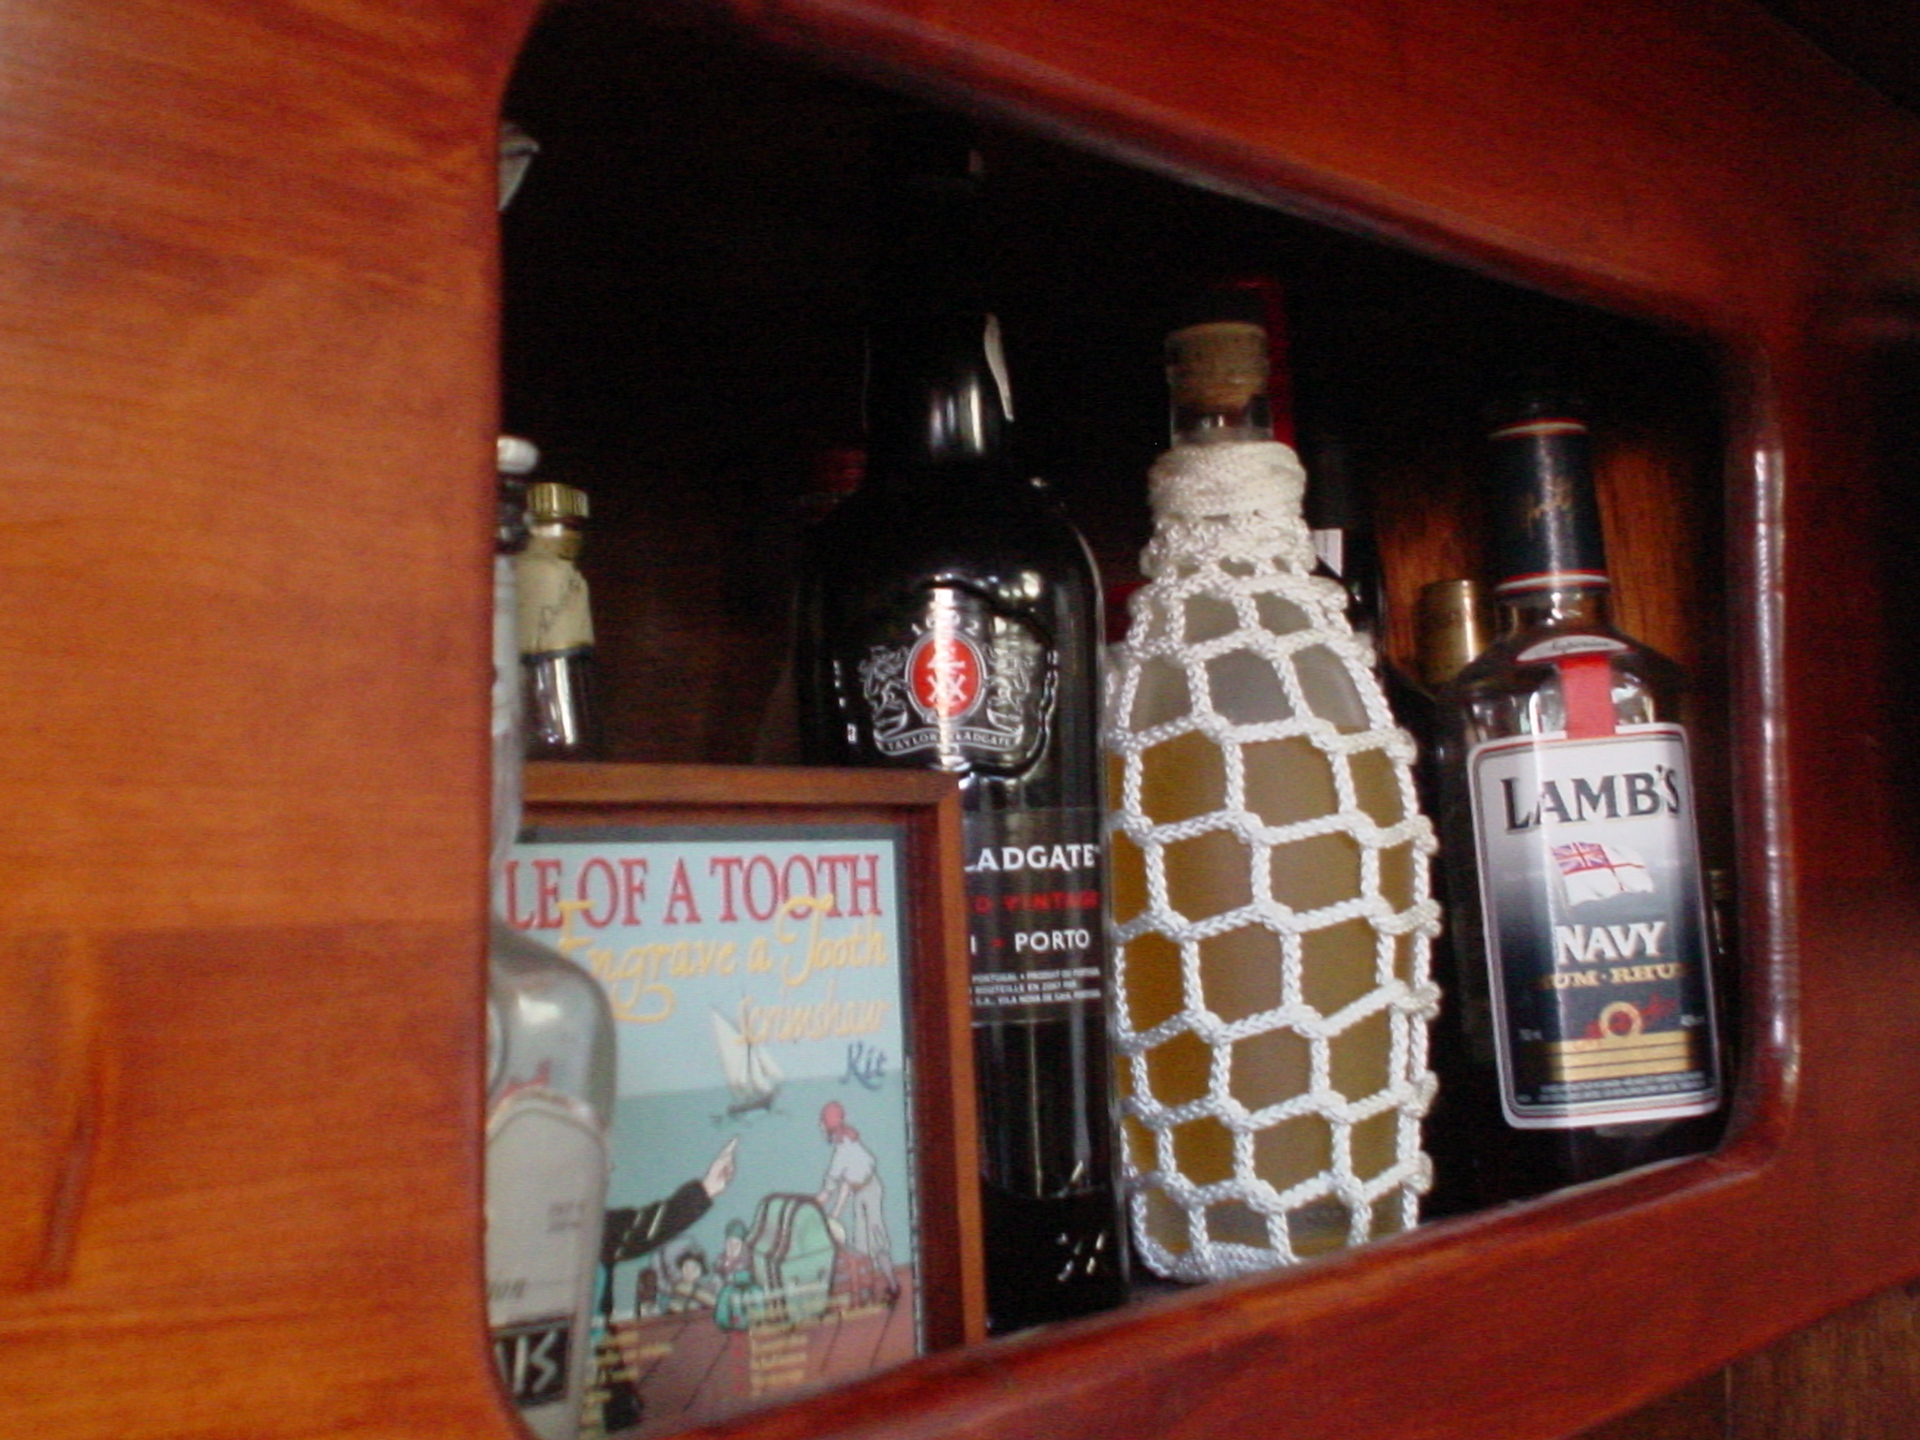
Not a bad addition to our liquor cabinet, eh? |
1. Open two medium-sized cans of canned fruit, and using the syrup from them, fill the bottle half-full. We used one can of Peaches, and one of Tropical Fruit salad. It made for a nice variety of flavour.
2. Squeeze a half a lemon's juice into the bottle.
3. Top the rest up with your favourite rum. The original recipe that we had called for white rum, but as we didn't have any on hand, a mixture of amber spiced and dark navy worked just fine.
4. It's best served chilled or on ice, but were were happy drinking it at room temperature as well. It was also very nice poured on top of the canned fruit and served as dessert.
Enjoy!
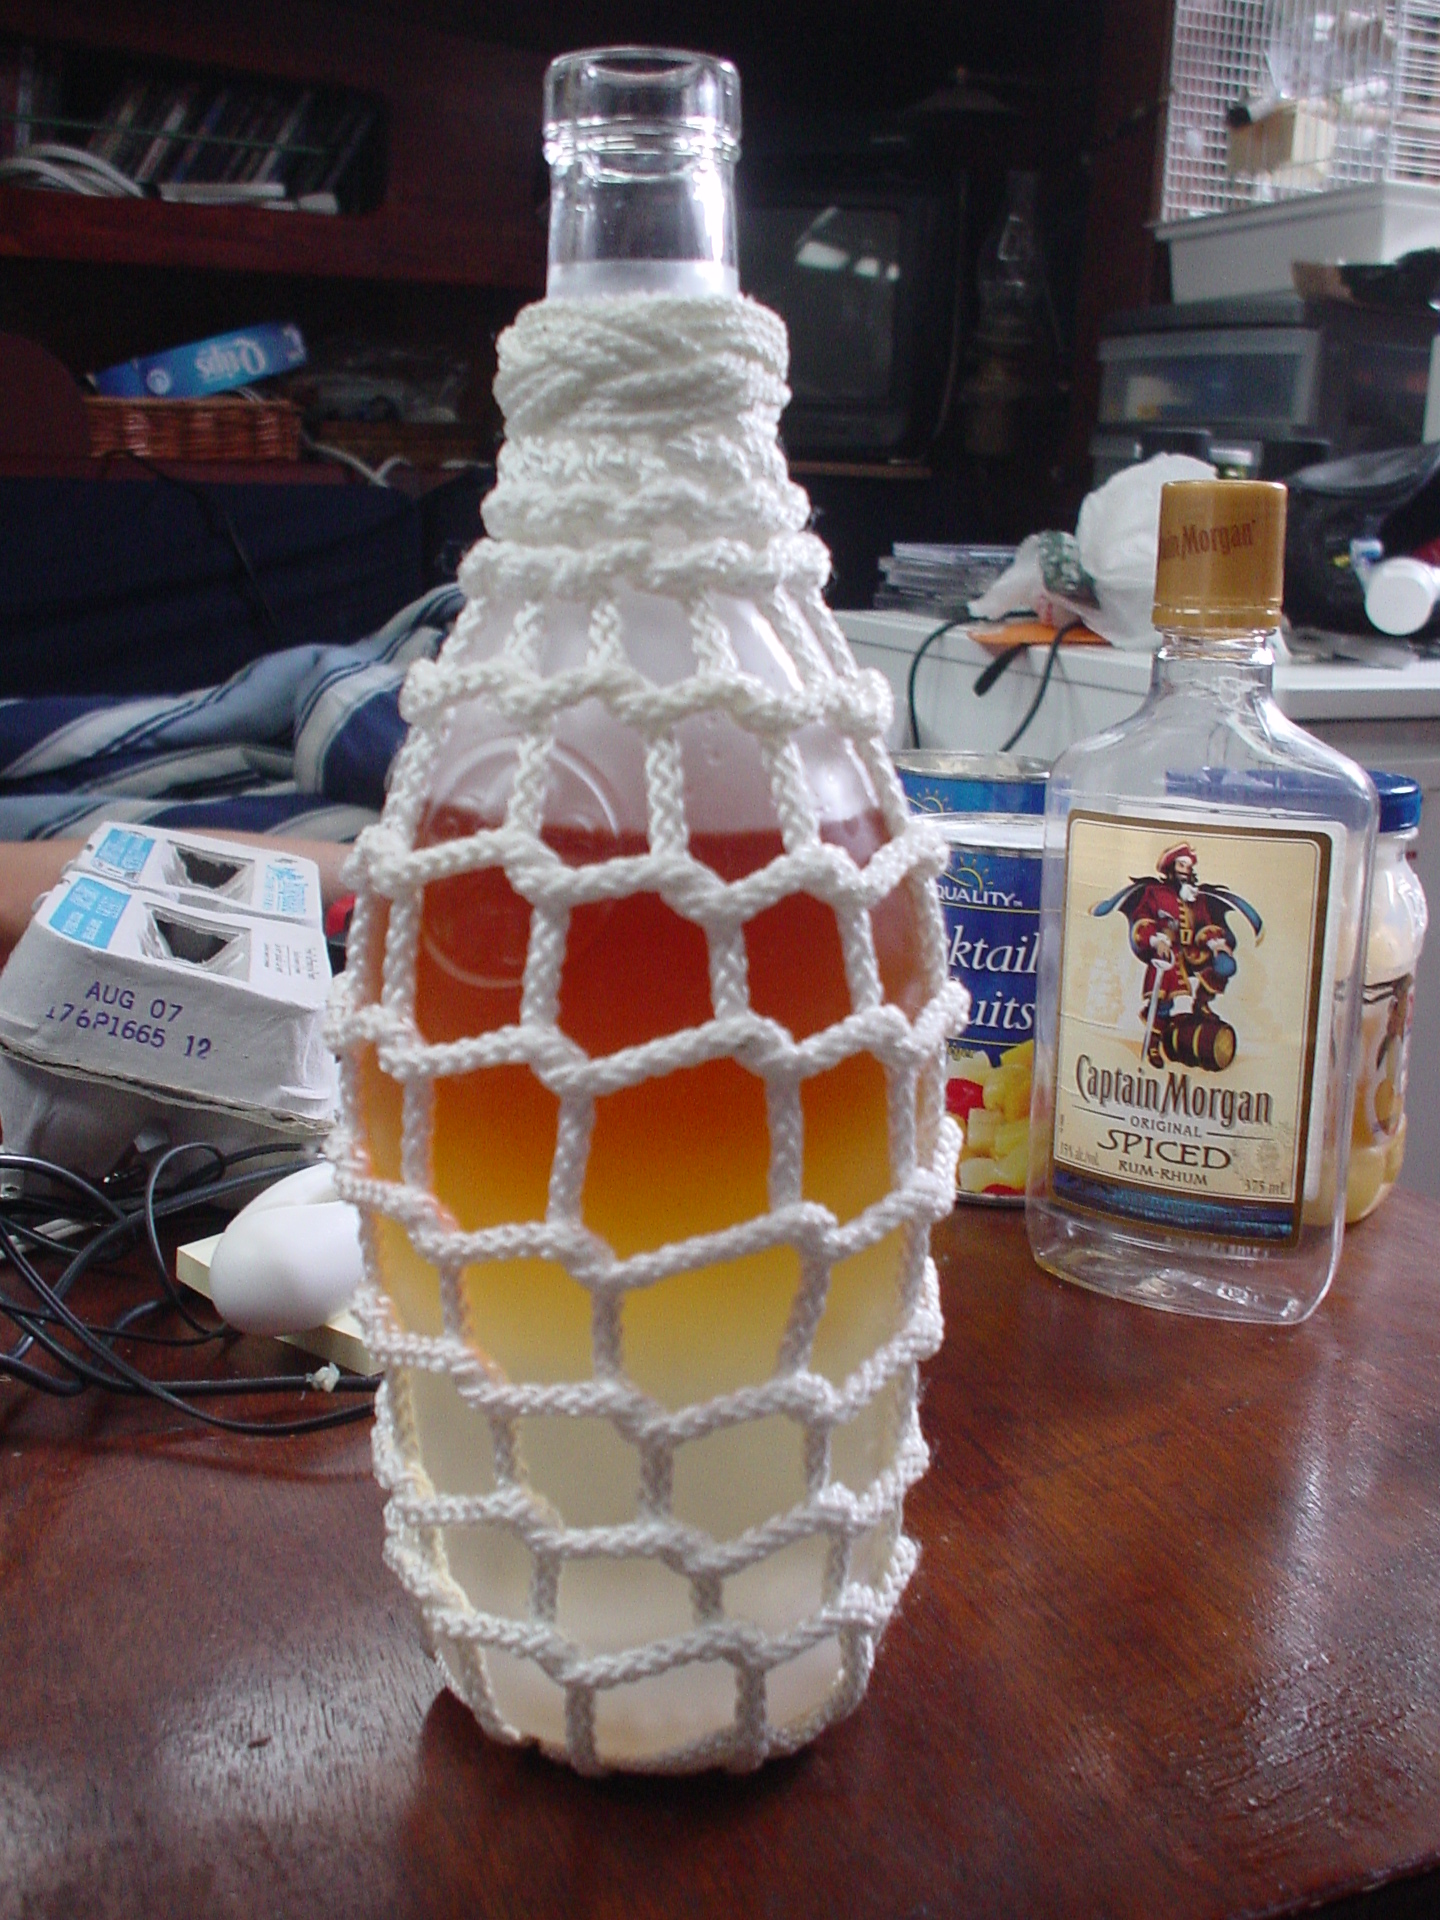
Our latest batch! We're calling it 3-Rum Punch since we only had small amounts of Captain Morgan's Spiced, dark Navy Rum, and amber Appleton's reserve. You can see three distinct layers (due to careful pouring!) - the bottom is the fruit juice, the middle is the lighter coloured rums, and the top is the dark rum. After a bit of a shake, it mixes and looks like the punch in the photos above.
Back to the top
The following is my (Angi, that is) attempt at Covering a Bottle:
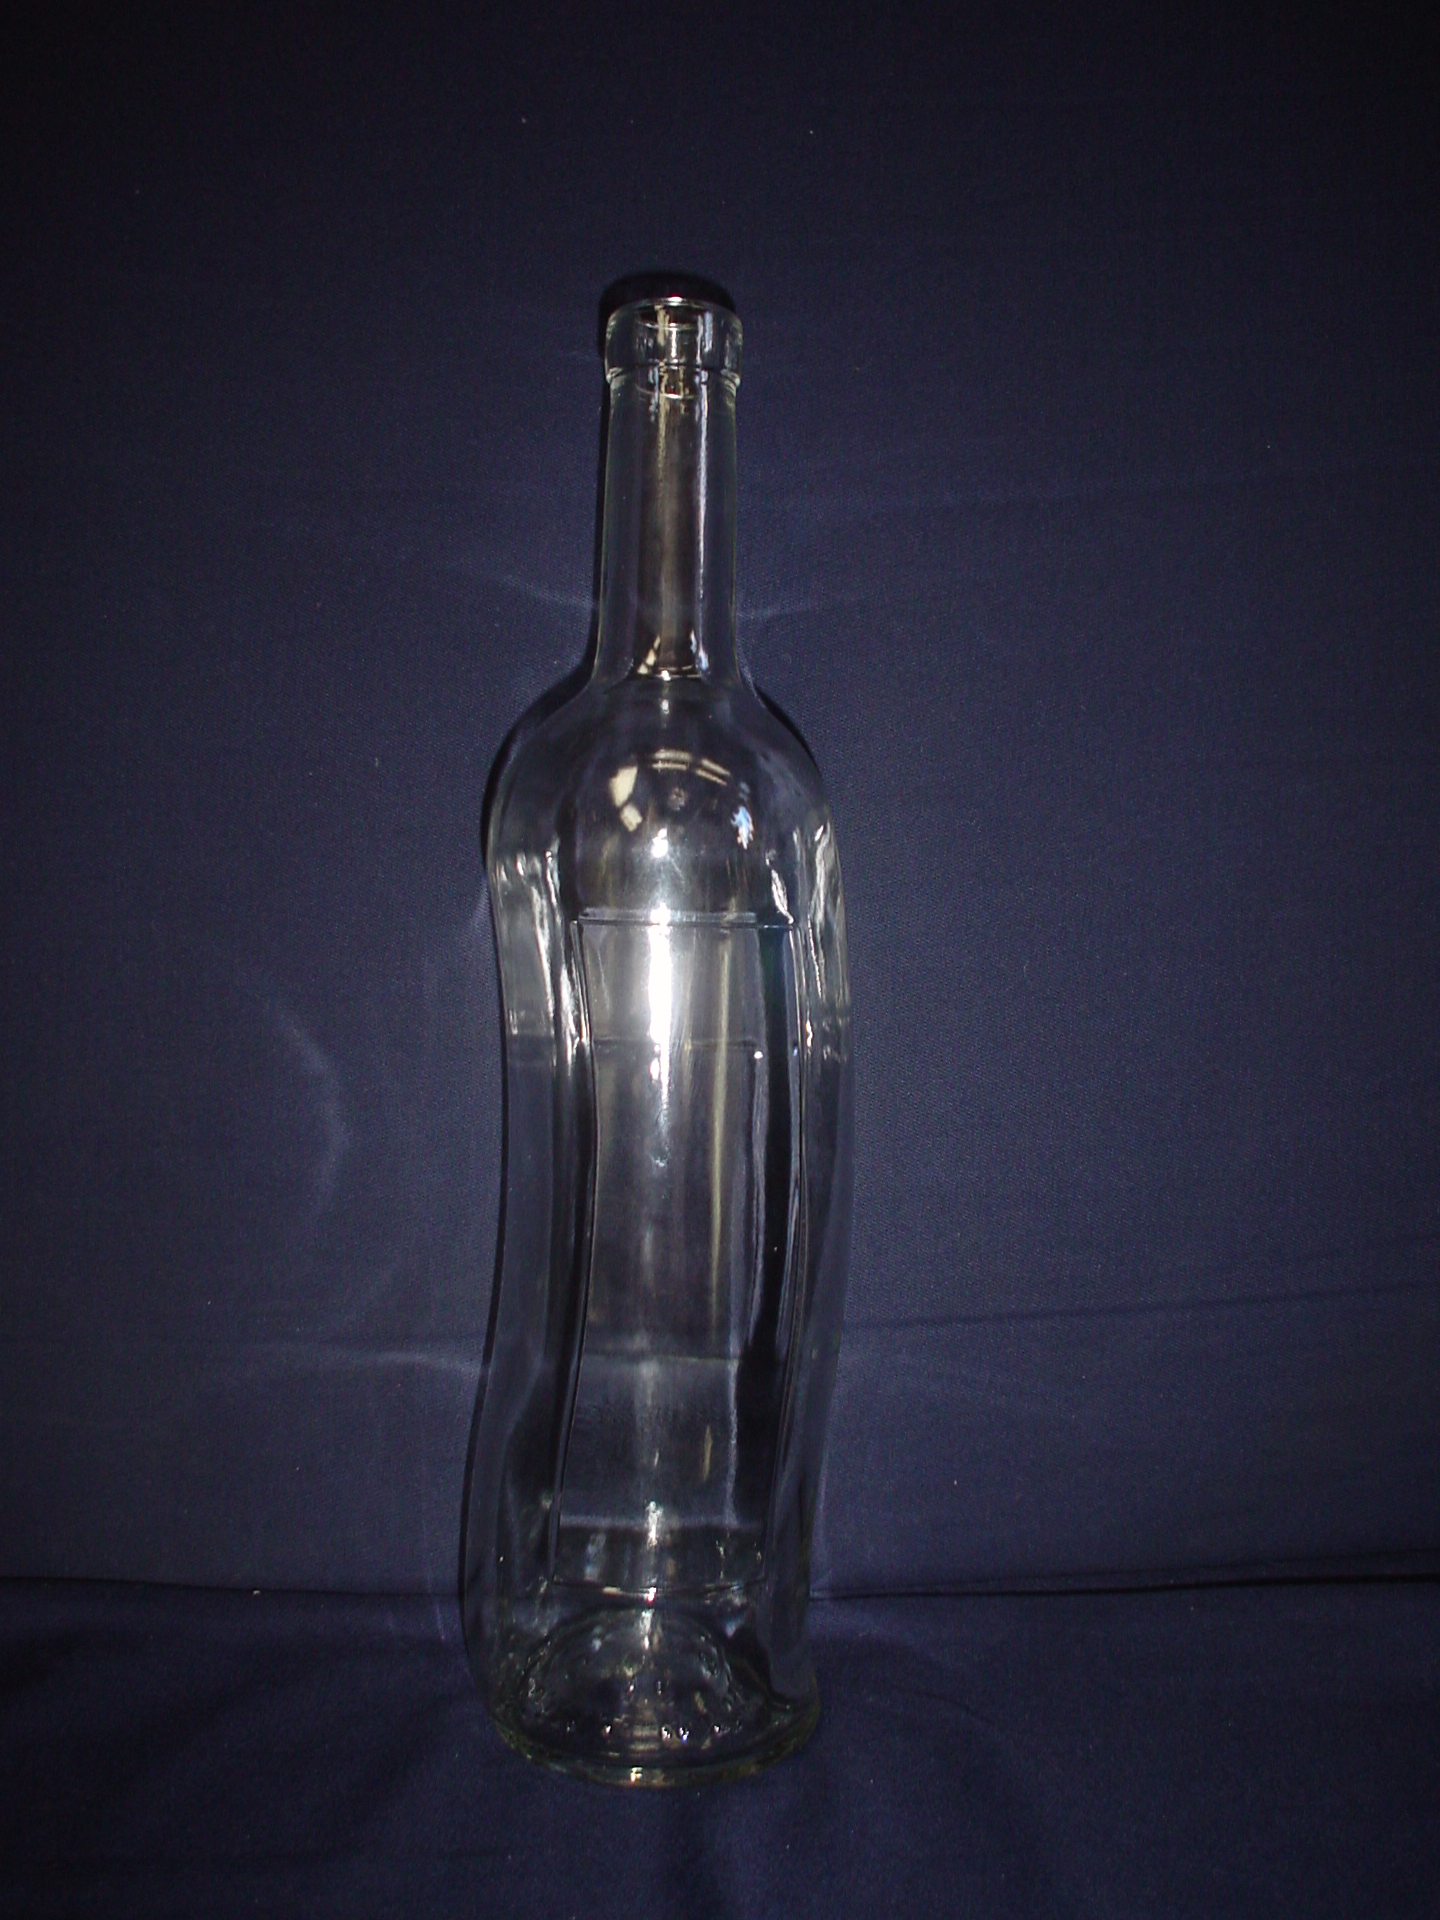
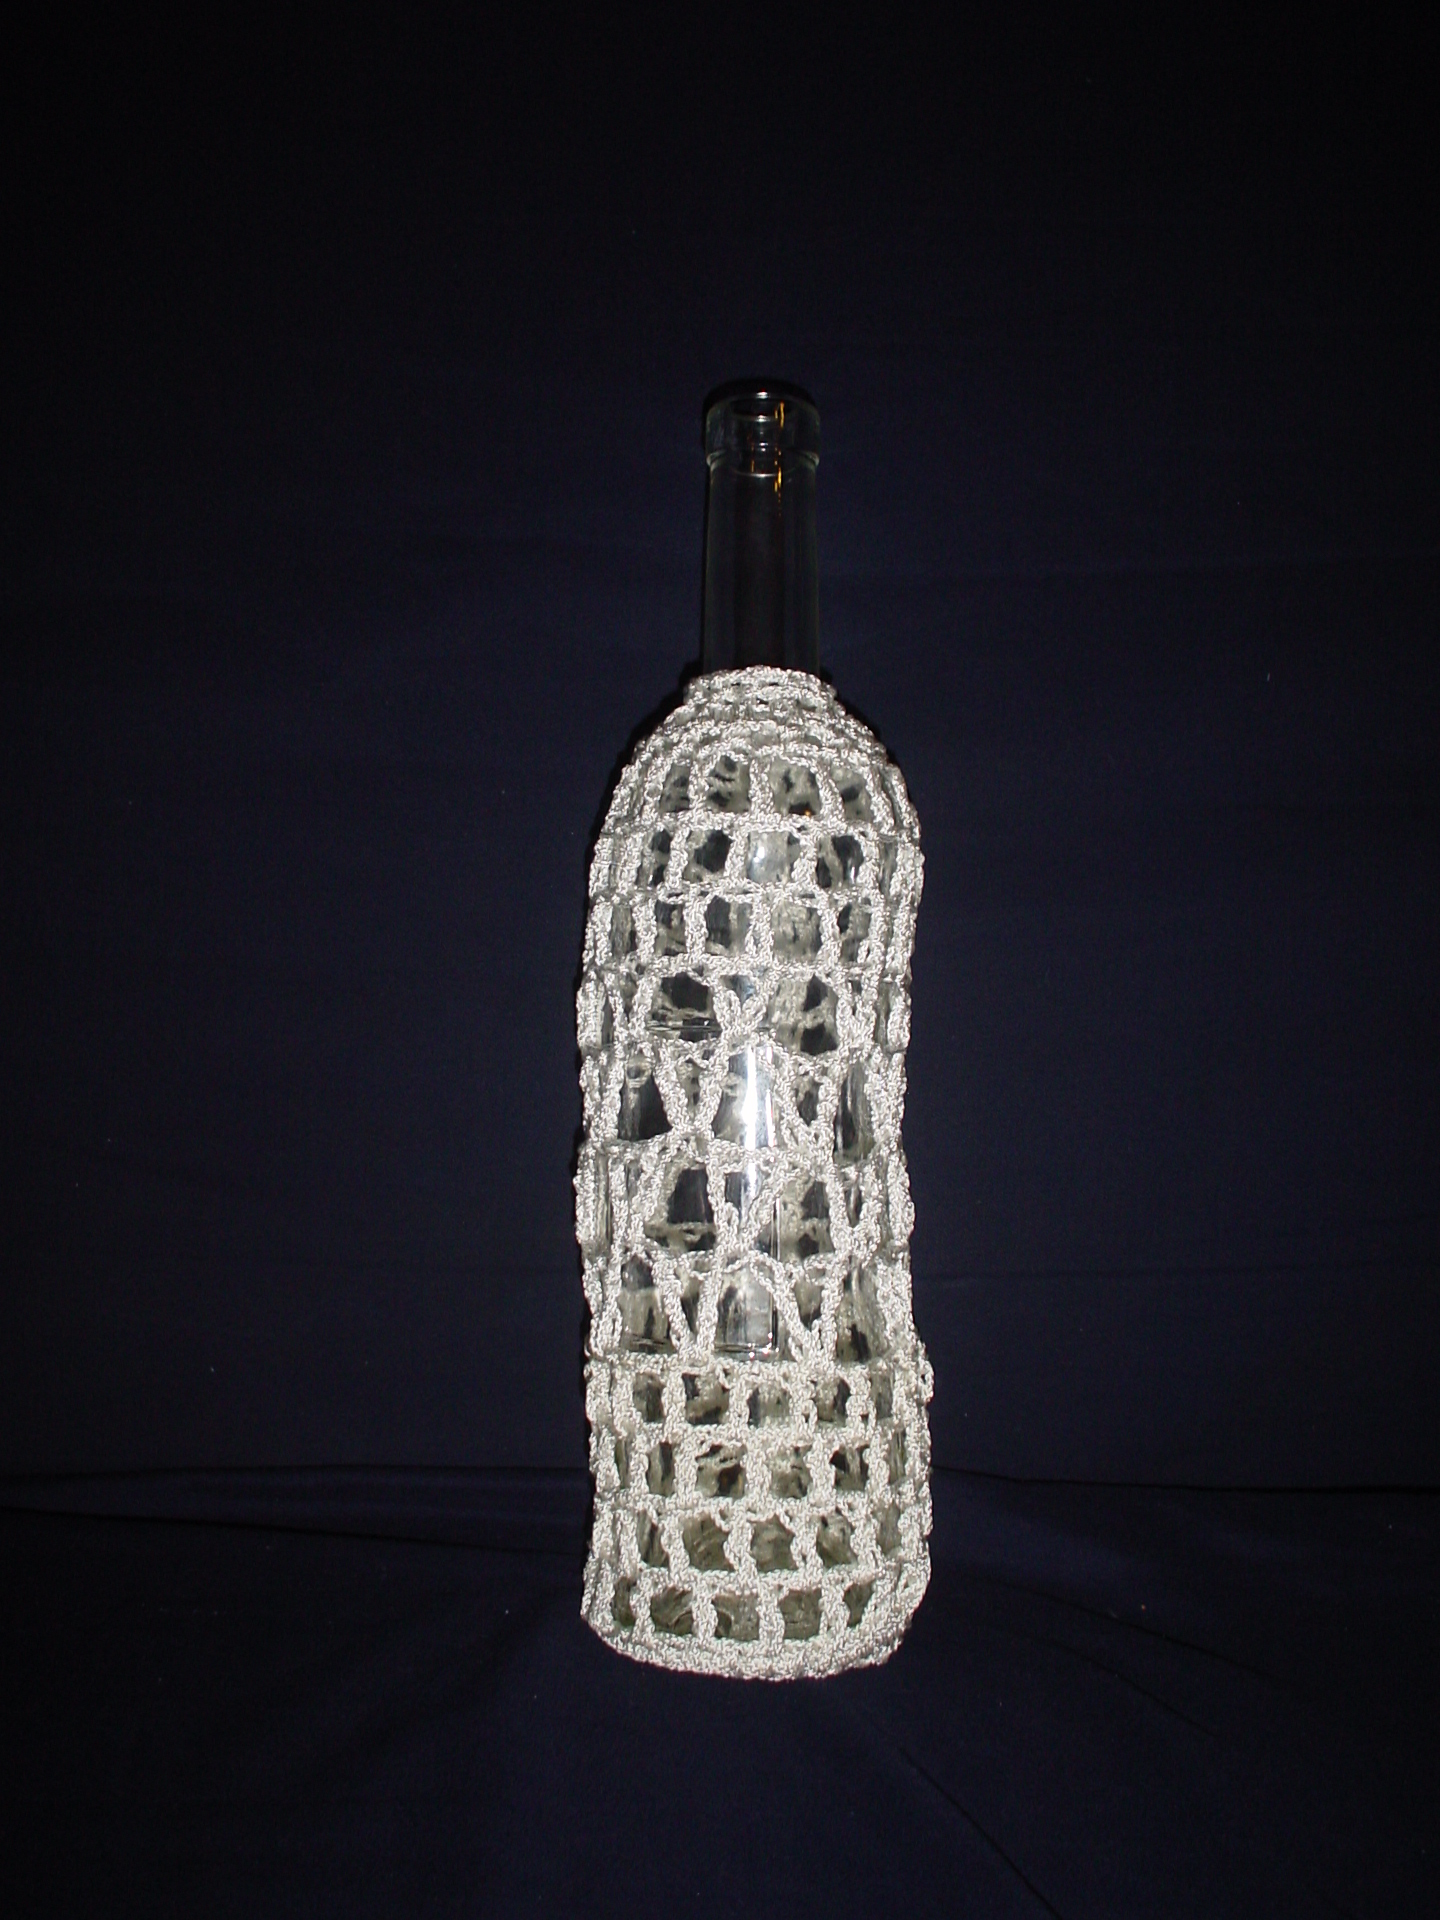
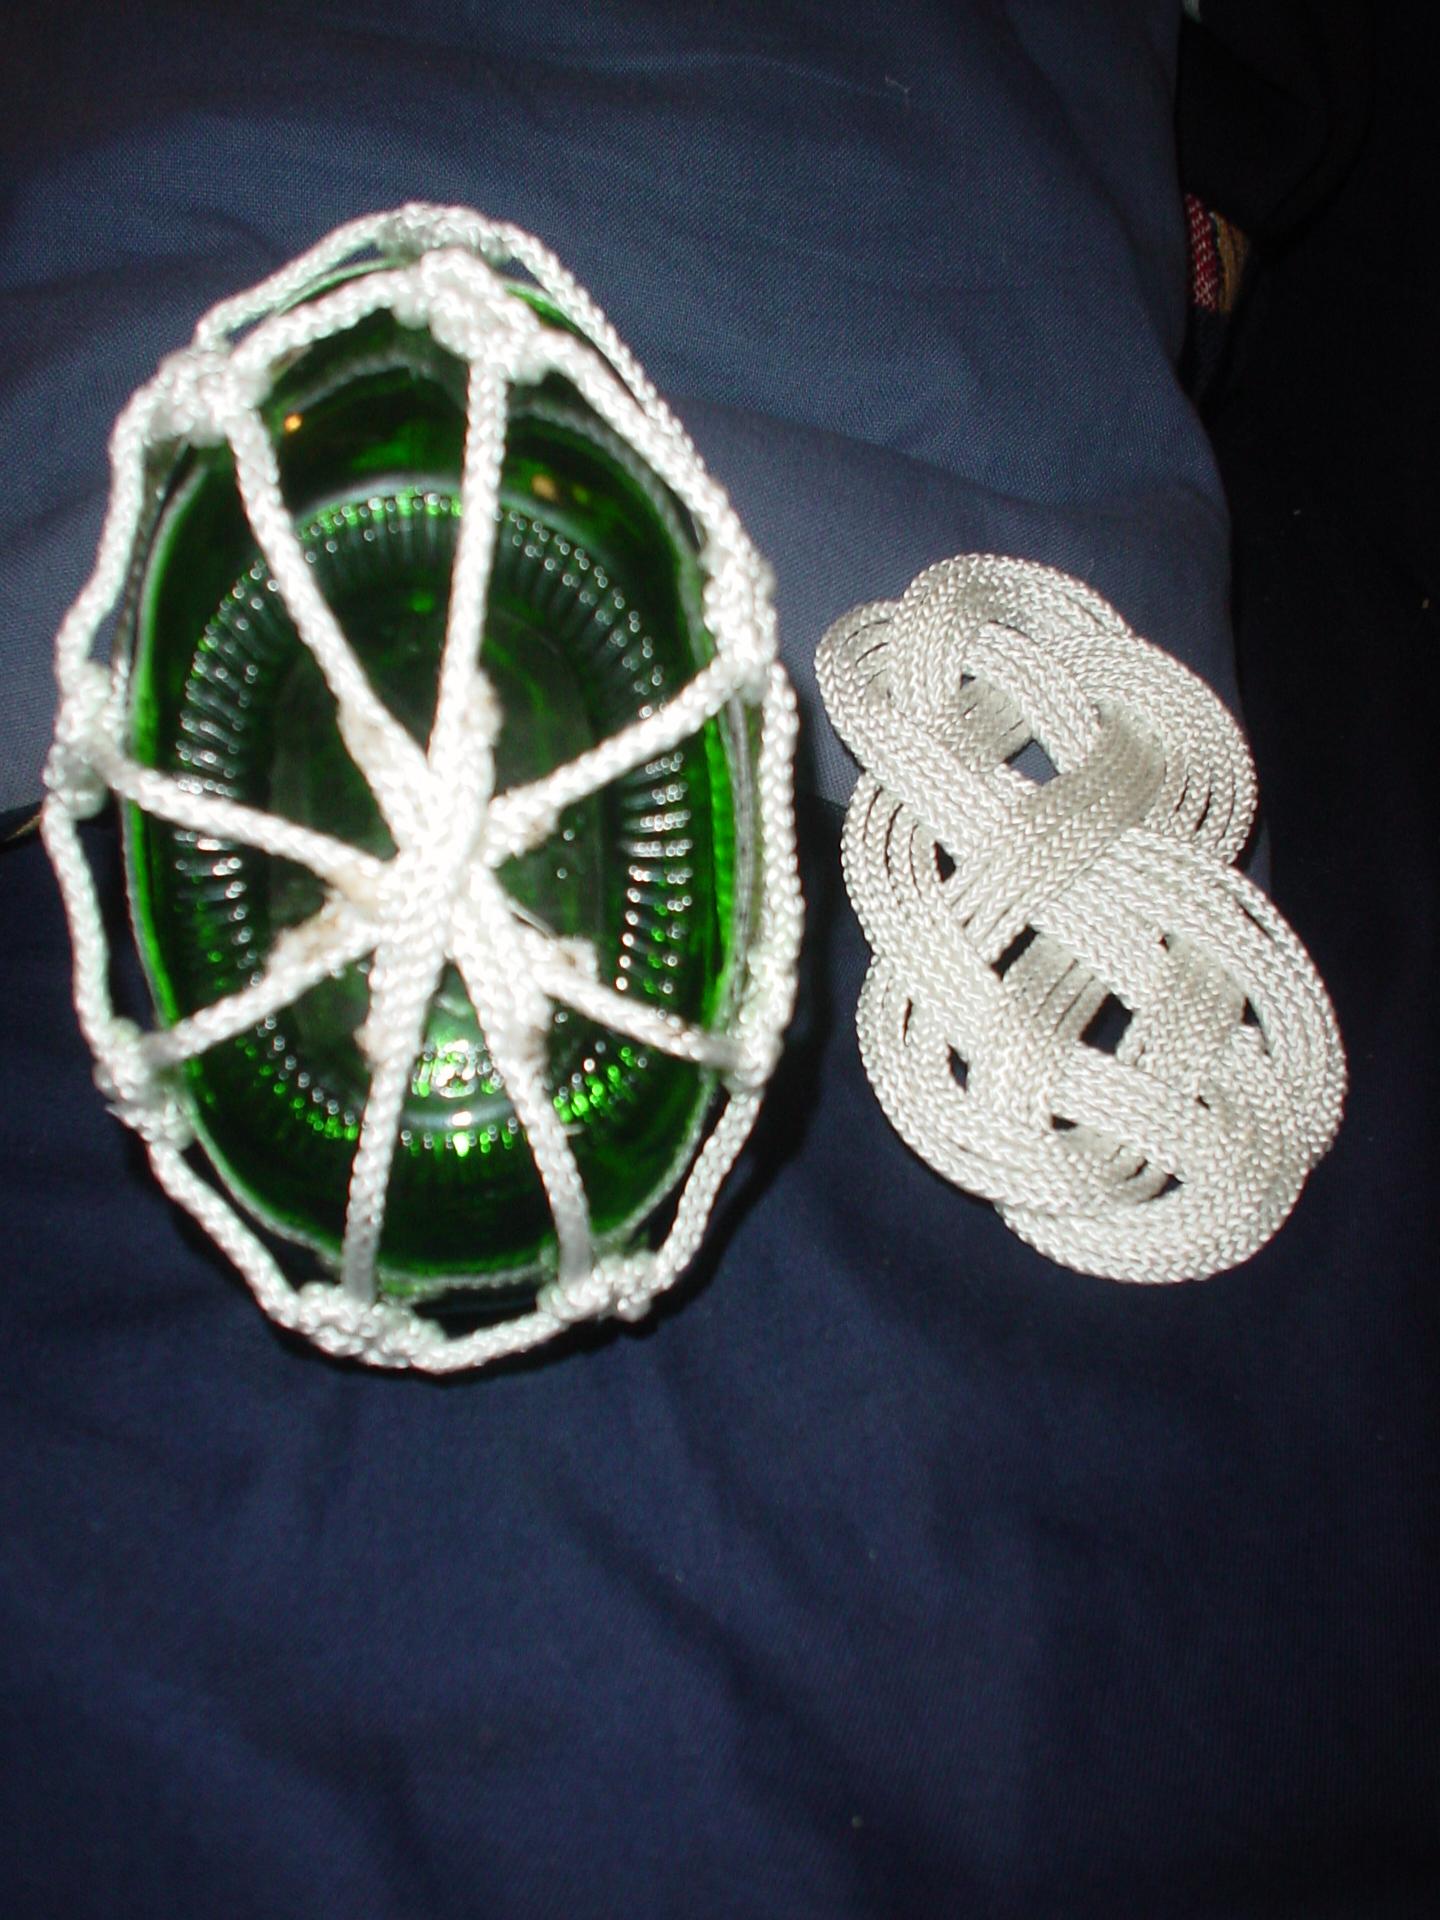
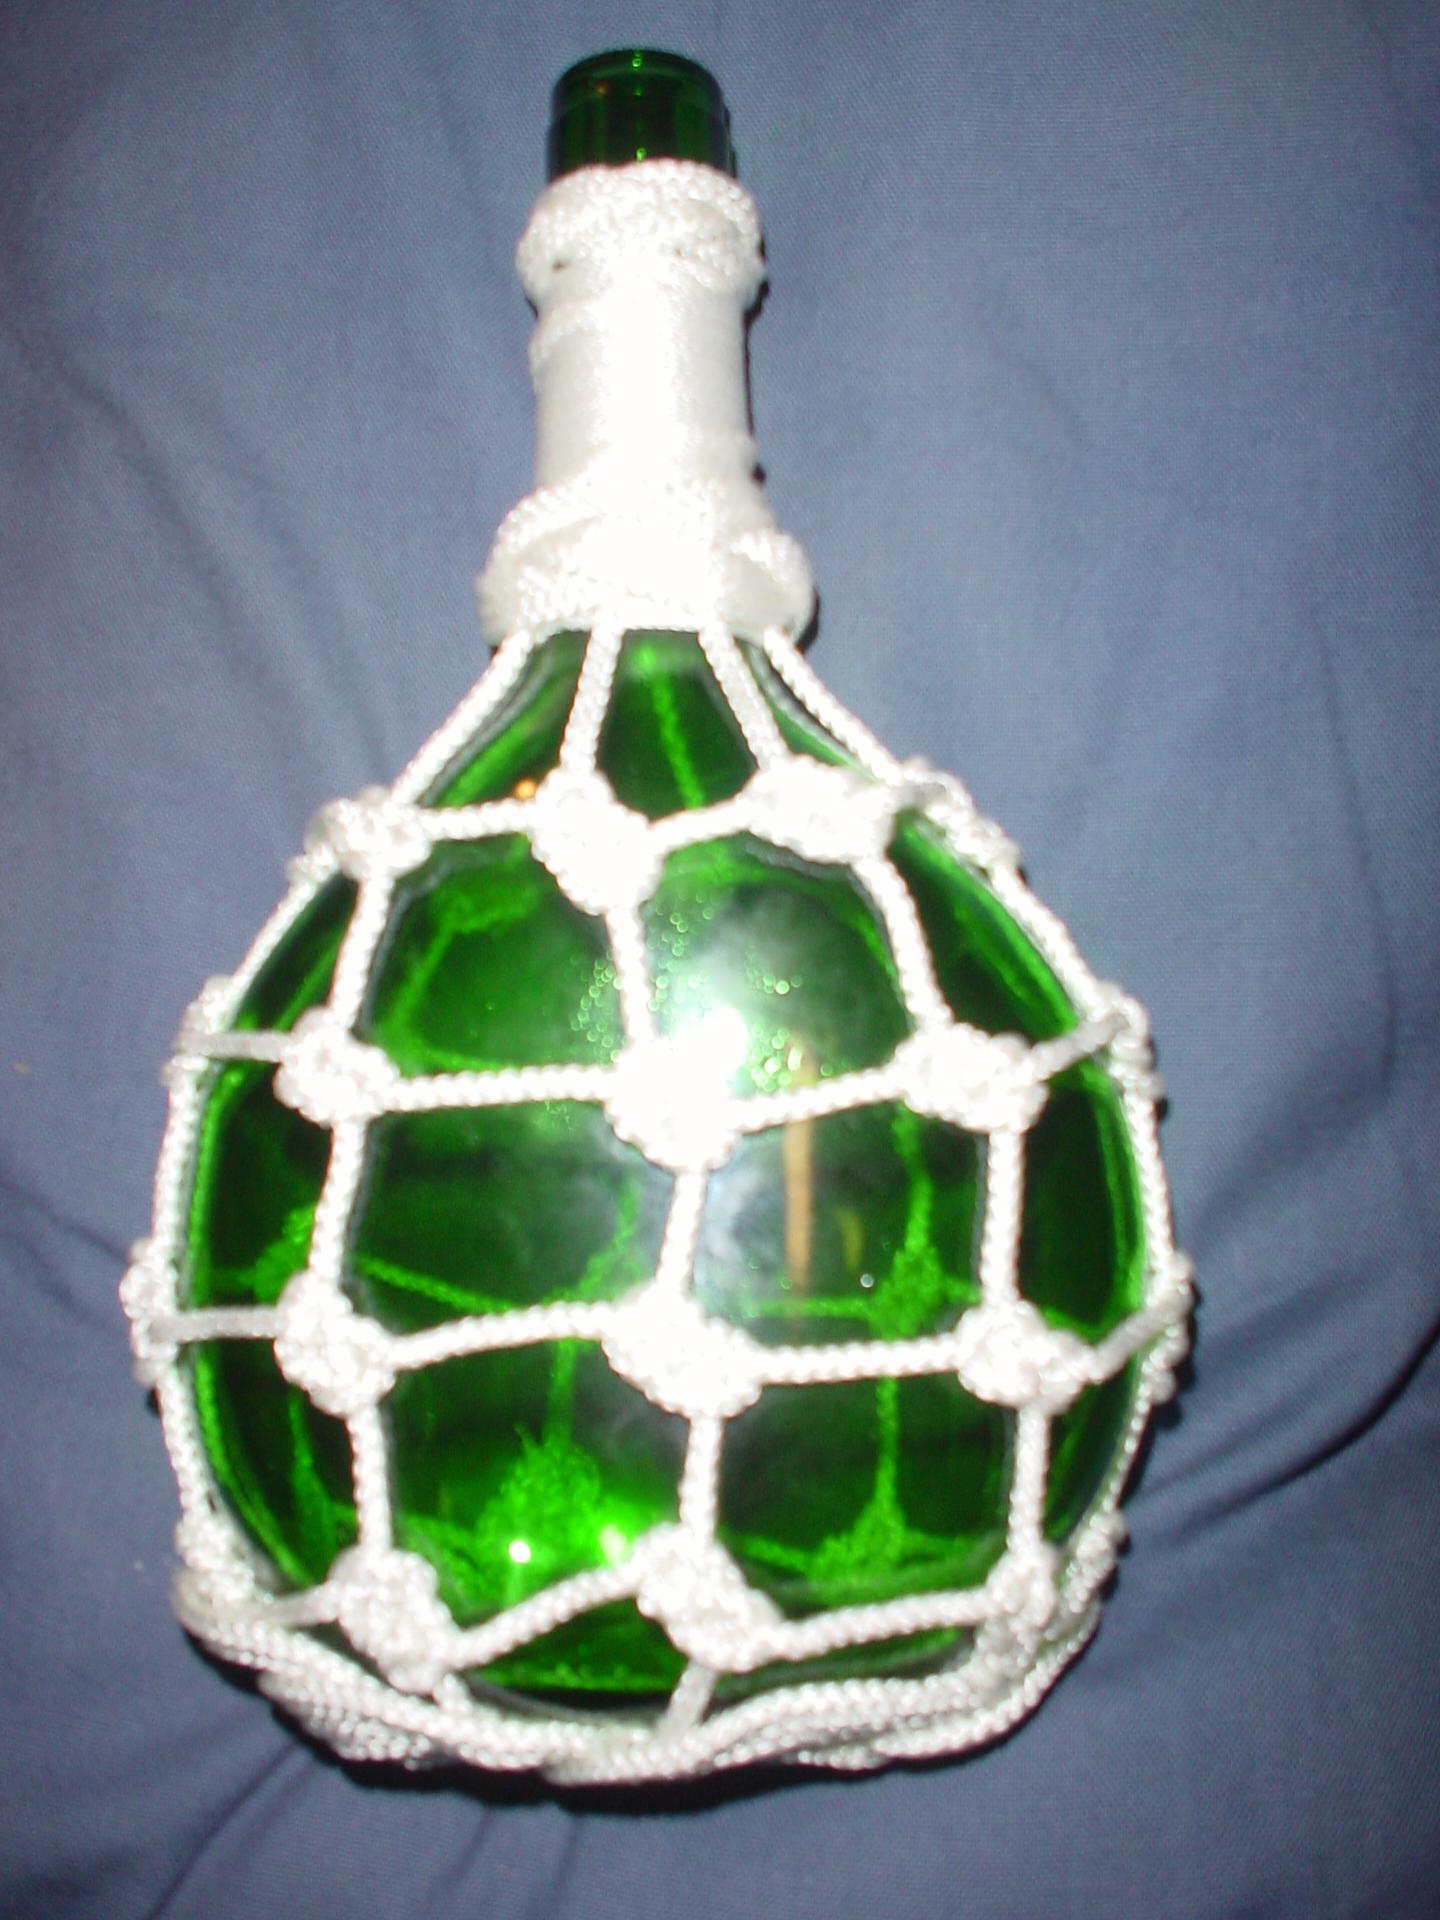
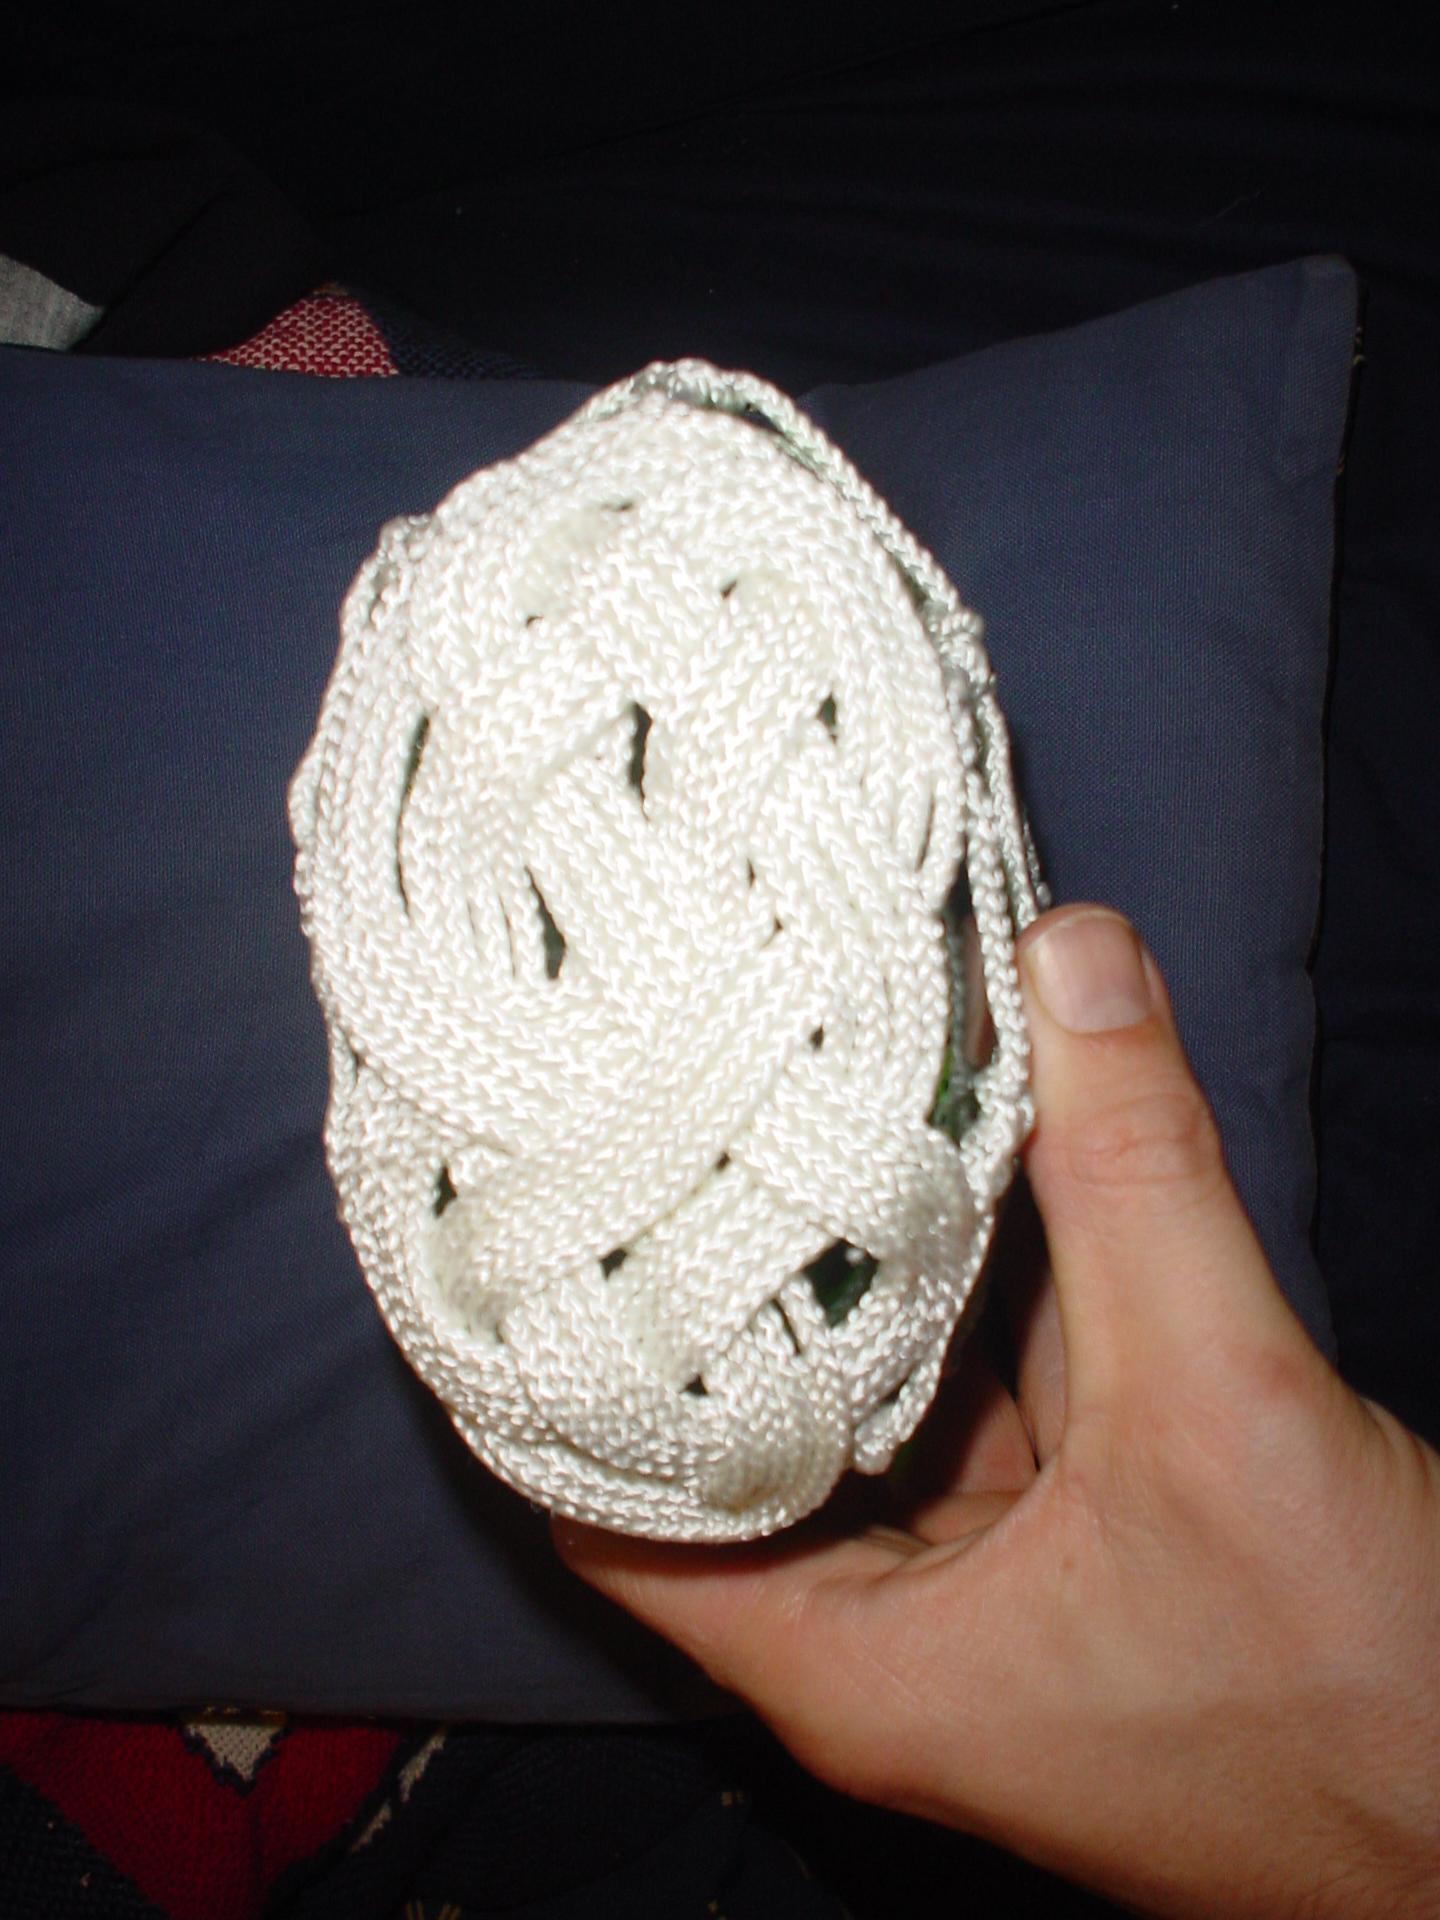
I started with a strange, bendy, wine bottle (see photo) and instead of using knots, crocheted a cover. Using braided mason and chalk line, which is 100% nylon, allowing for some stretch and give, and a number 3.50 crochet hook, I crocheted a circle for the bottom (using single crochet), just slightly larger than the bottle. Then I crocheted a rectangle for the sides, using several stitches (variations on treble crochet for the most part), basically making it up as I went along. When I got close to the neck, I changed to double and then single crochet and dropped stitches in each row in order to get down to the size of the bottle neck. Rather than sewing the pieces together, I used single crochet to attach the rectangle to the circle and then to close the side of the rectangle.
|
|
|
It looks pretty cool, took no time at all (two hours, maybe), and used only about 150 feet of a 200 foot spool of chalk line. Unfortunately, the bottom circle makes the bottle almost too tall to fit into our shelves. We'll have to deal with that issue somehow - those shelves might need to be re-built...
Oh, God no!! (Dave's reaction:) )
This one came from a bottle of Mateus, and the idea was to make it as a Christmas gift for my sister Theresa, filled with the rum punch mentioned above.
|
|
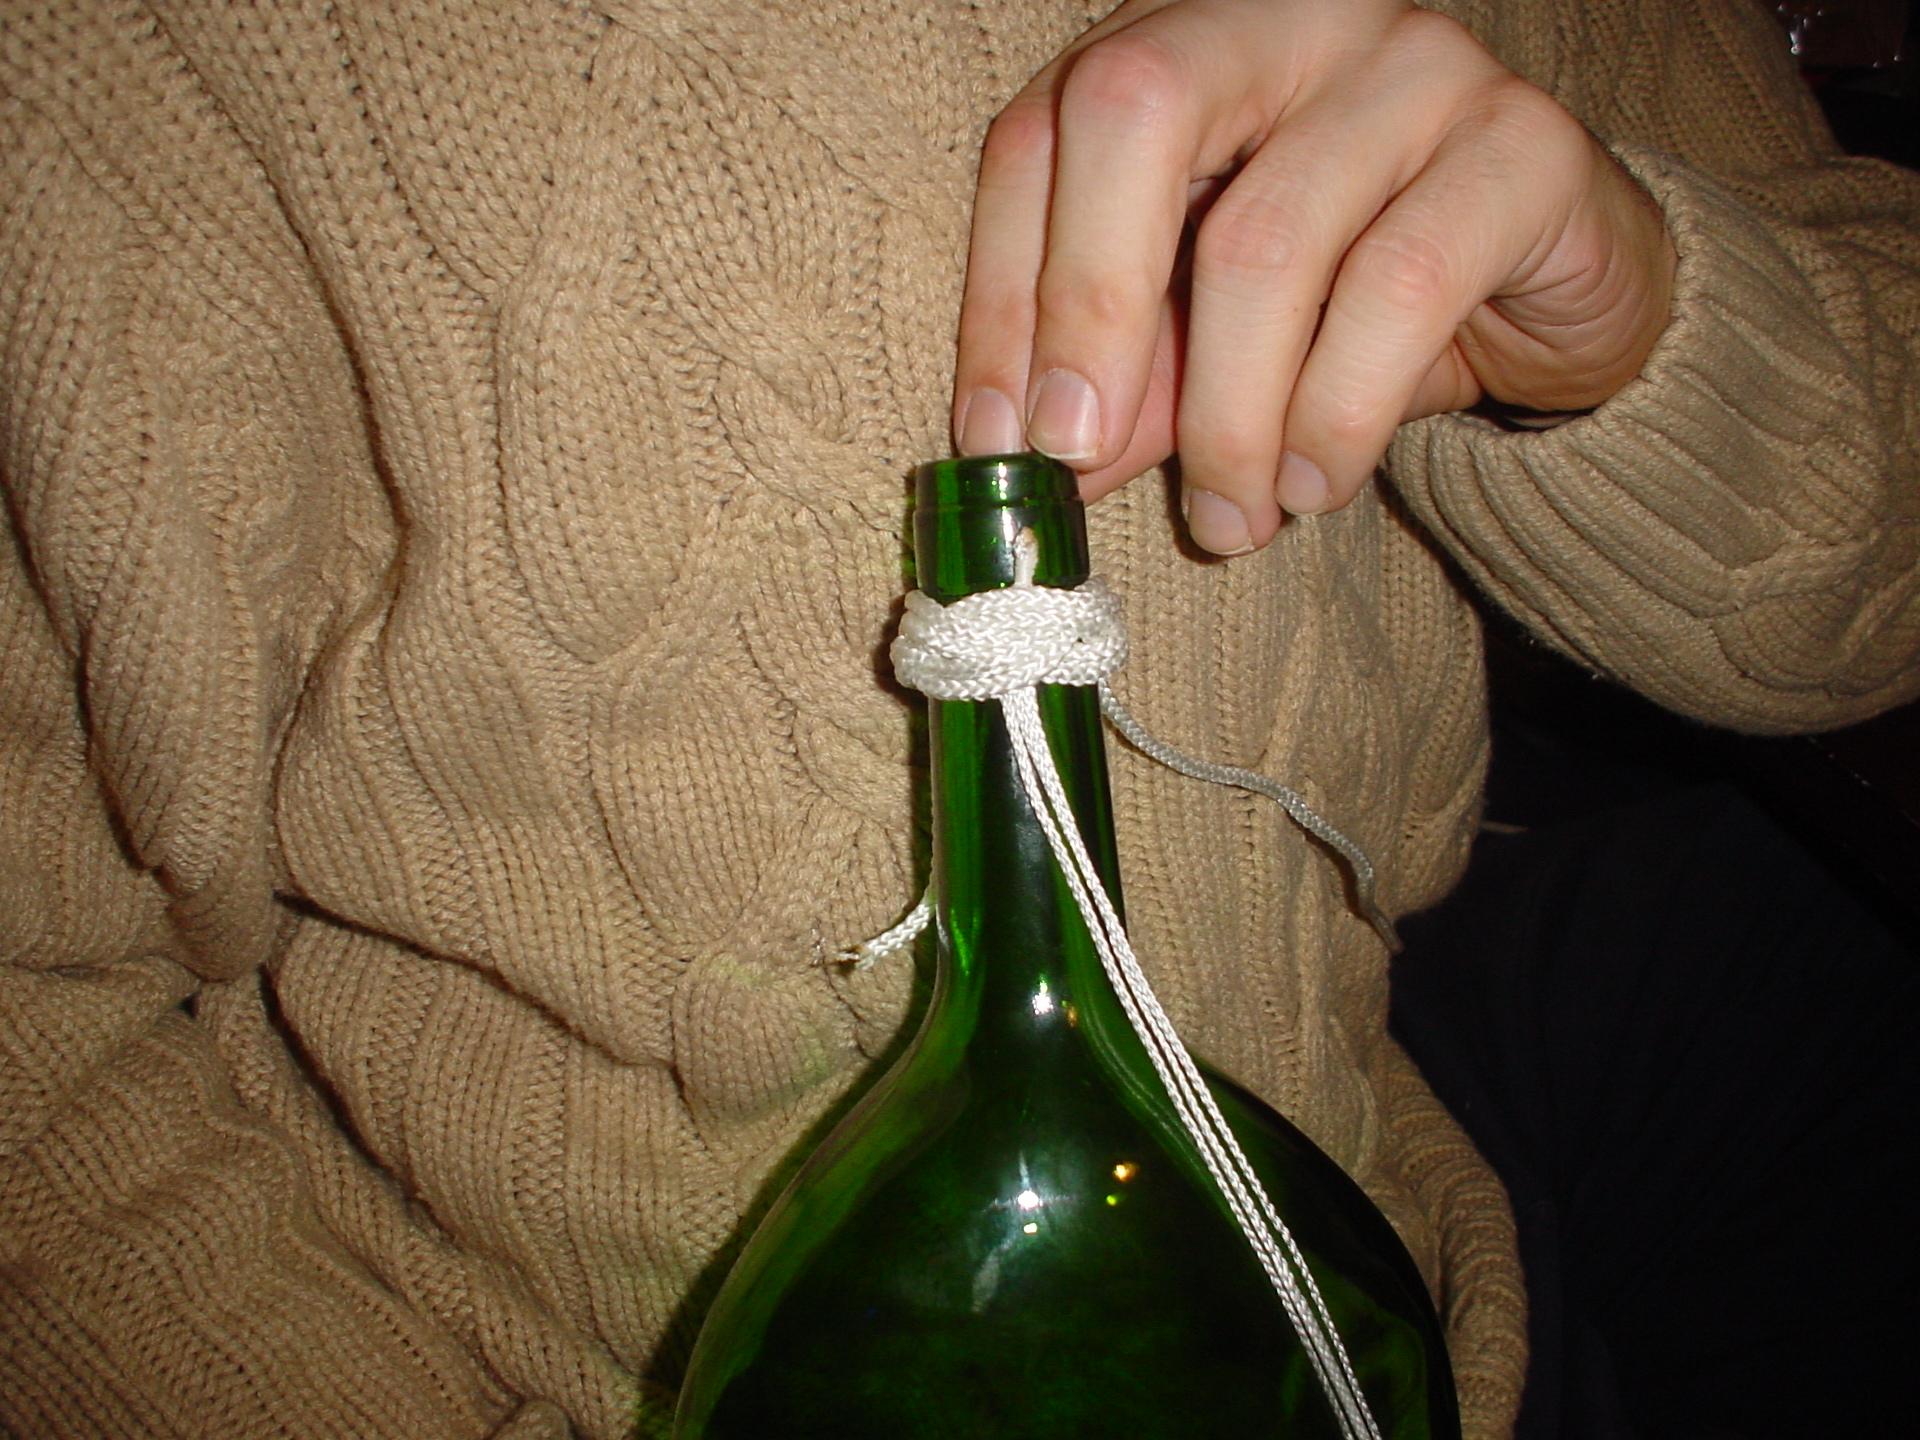
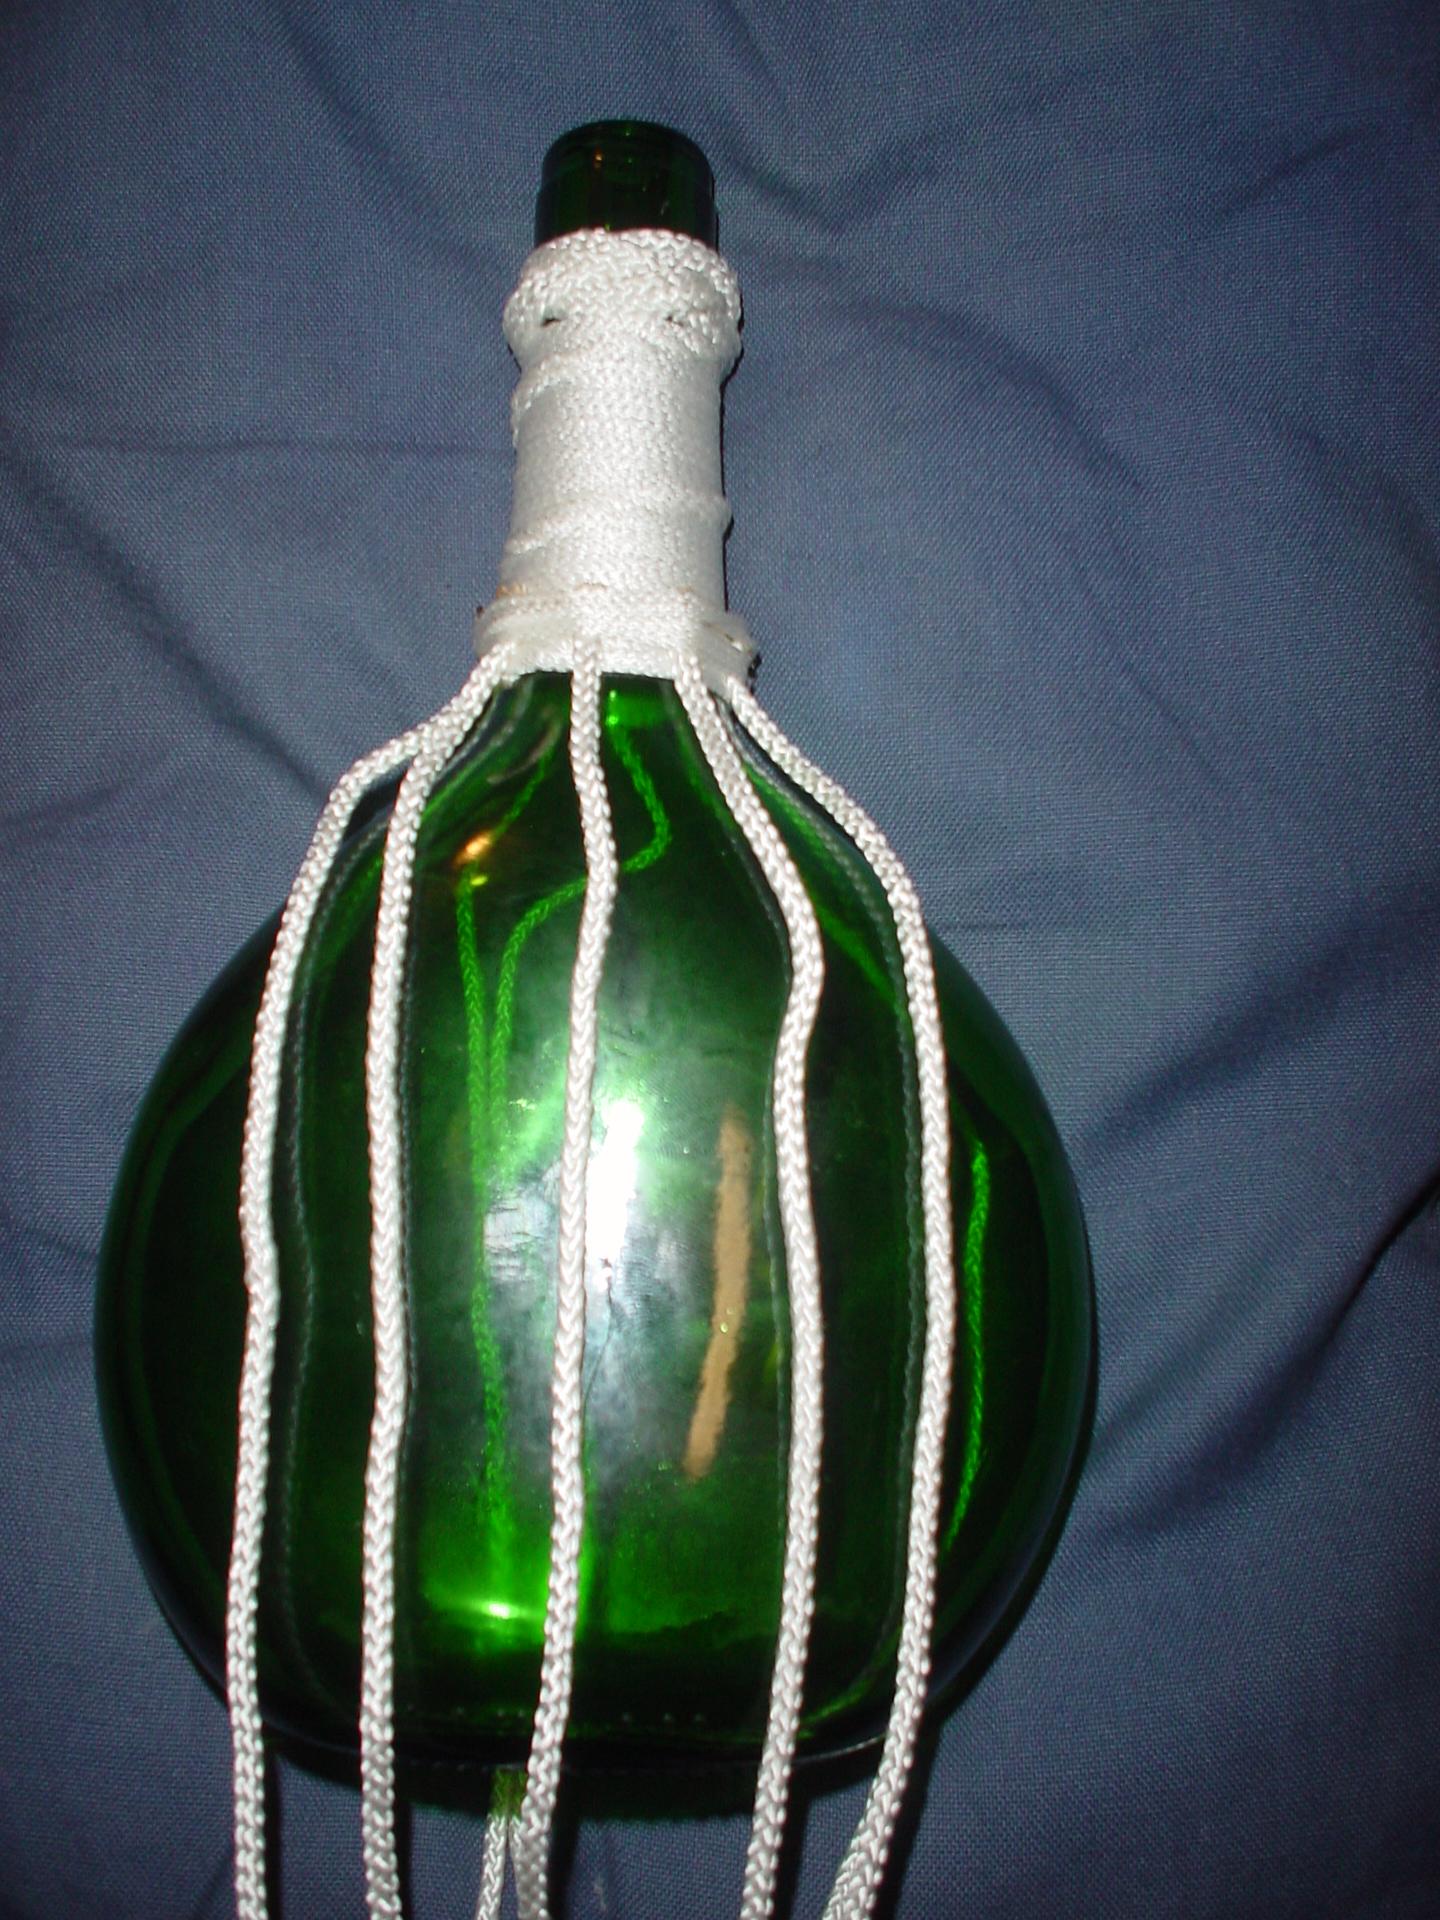
I started this one from the top with a tight Turk's Head which secured the three strands of really small stuff for the St. Mary's Hitching. |
|
The St. Mary's Hitching was carried on down the neck of the bottle all the way to the shoulder. The end of the hitching will be hidden with another Turk's Head. |
|
|
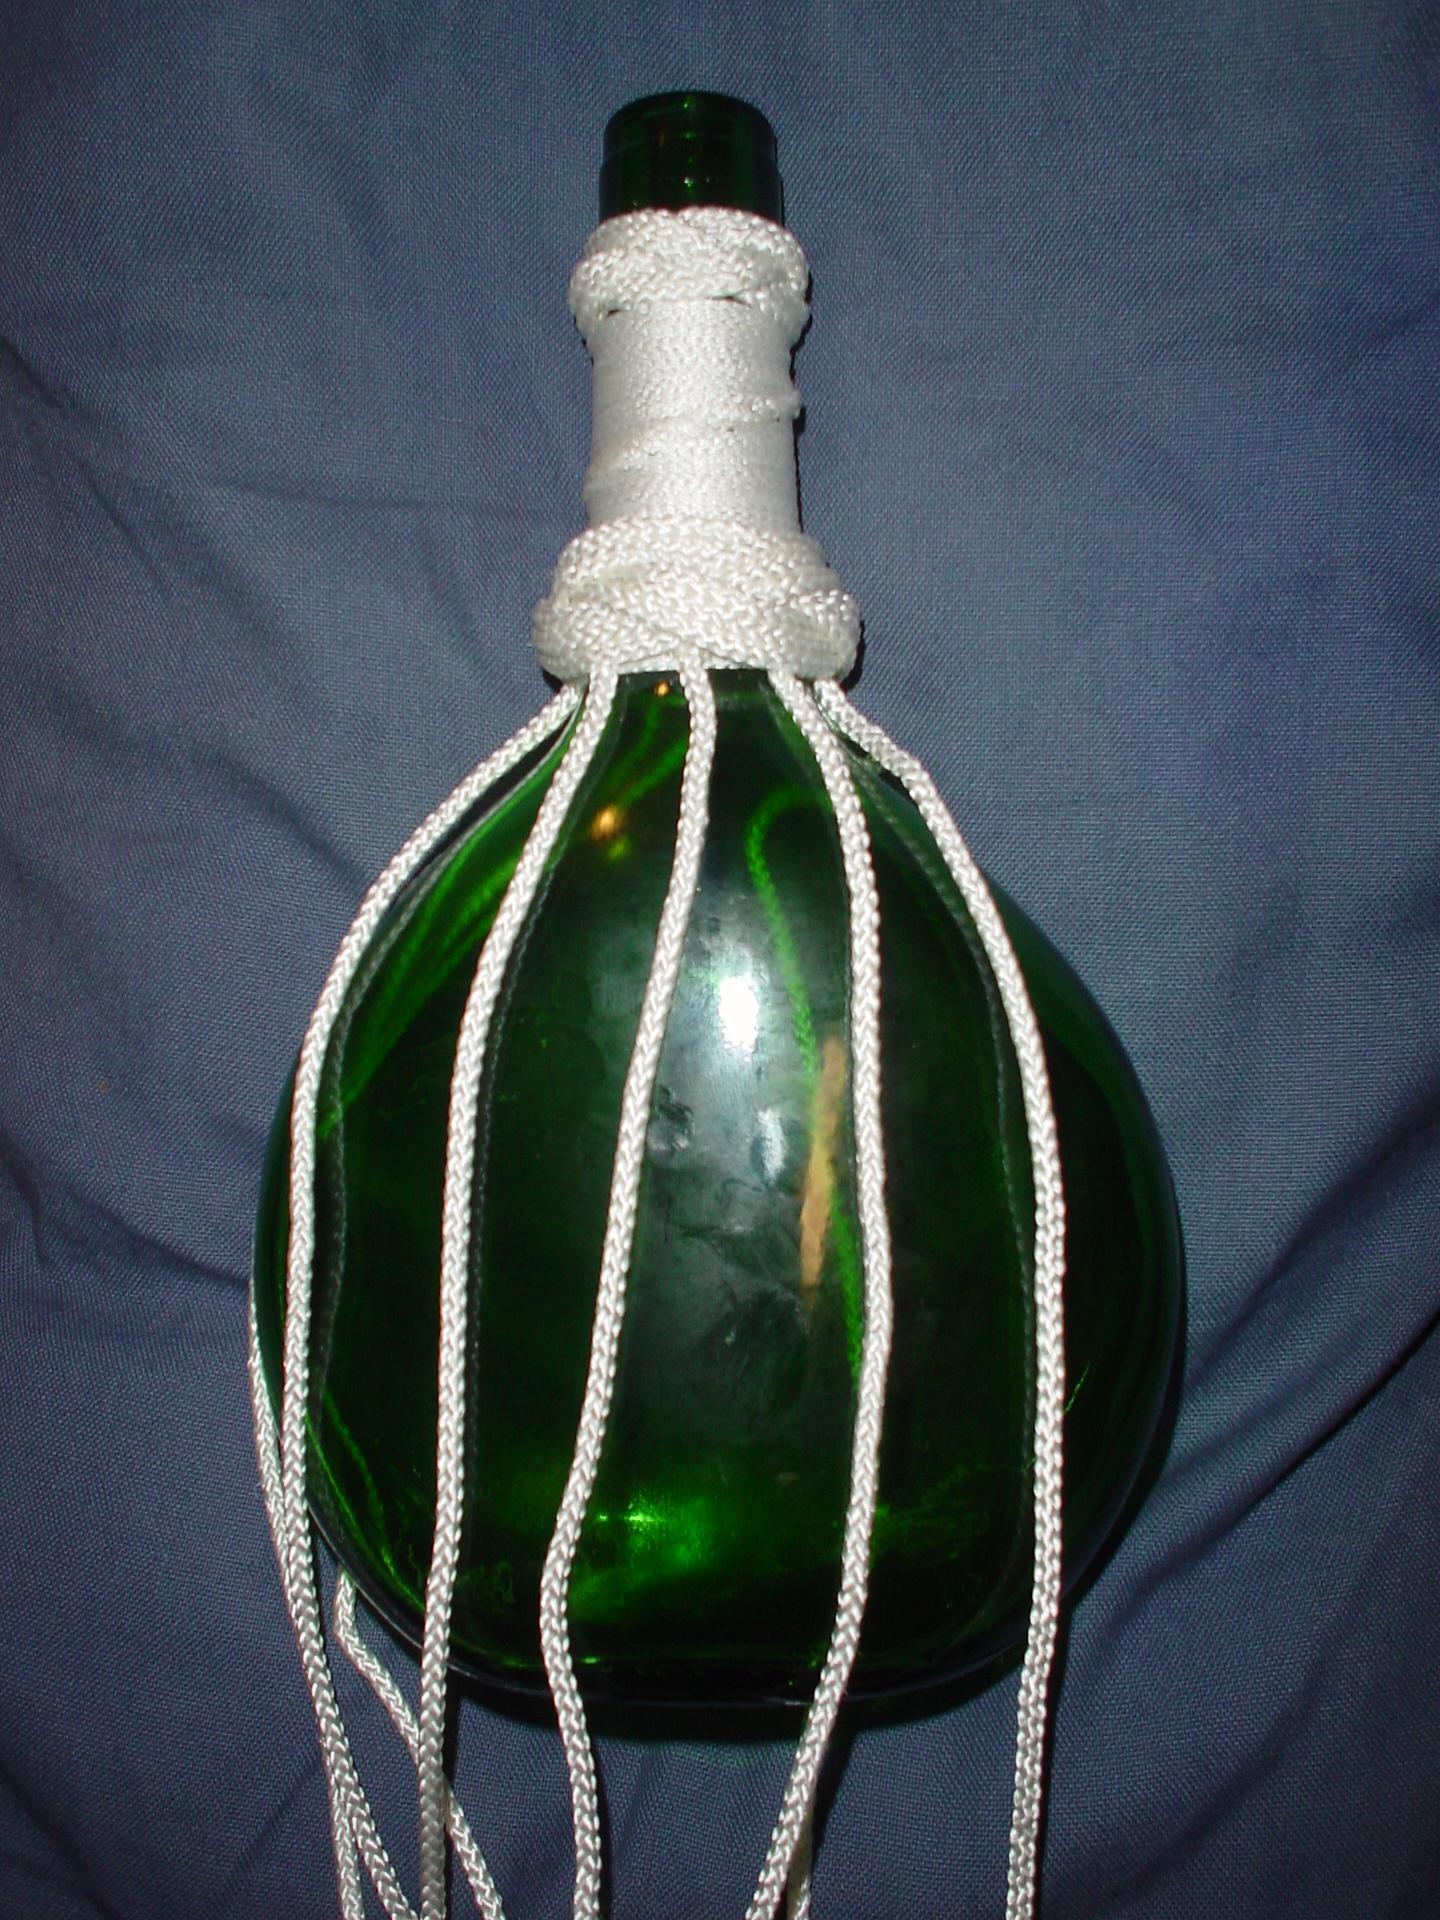
Before putting on the lower Turk's Head, I secured the eight strands that were going to be used for the netting using two Double Constrictor Hitches. |
|
The lower Turk's Head is now in place, covering the end of the St. Mary's hitching and the beginnings of the netting. |
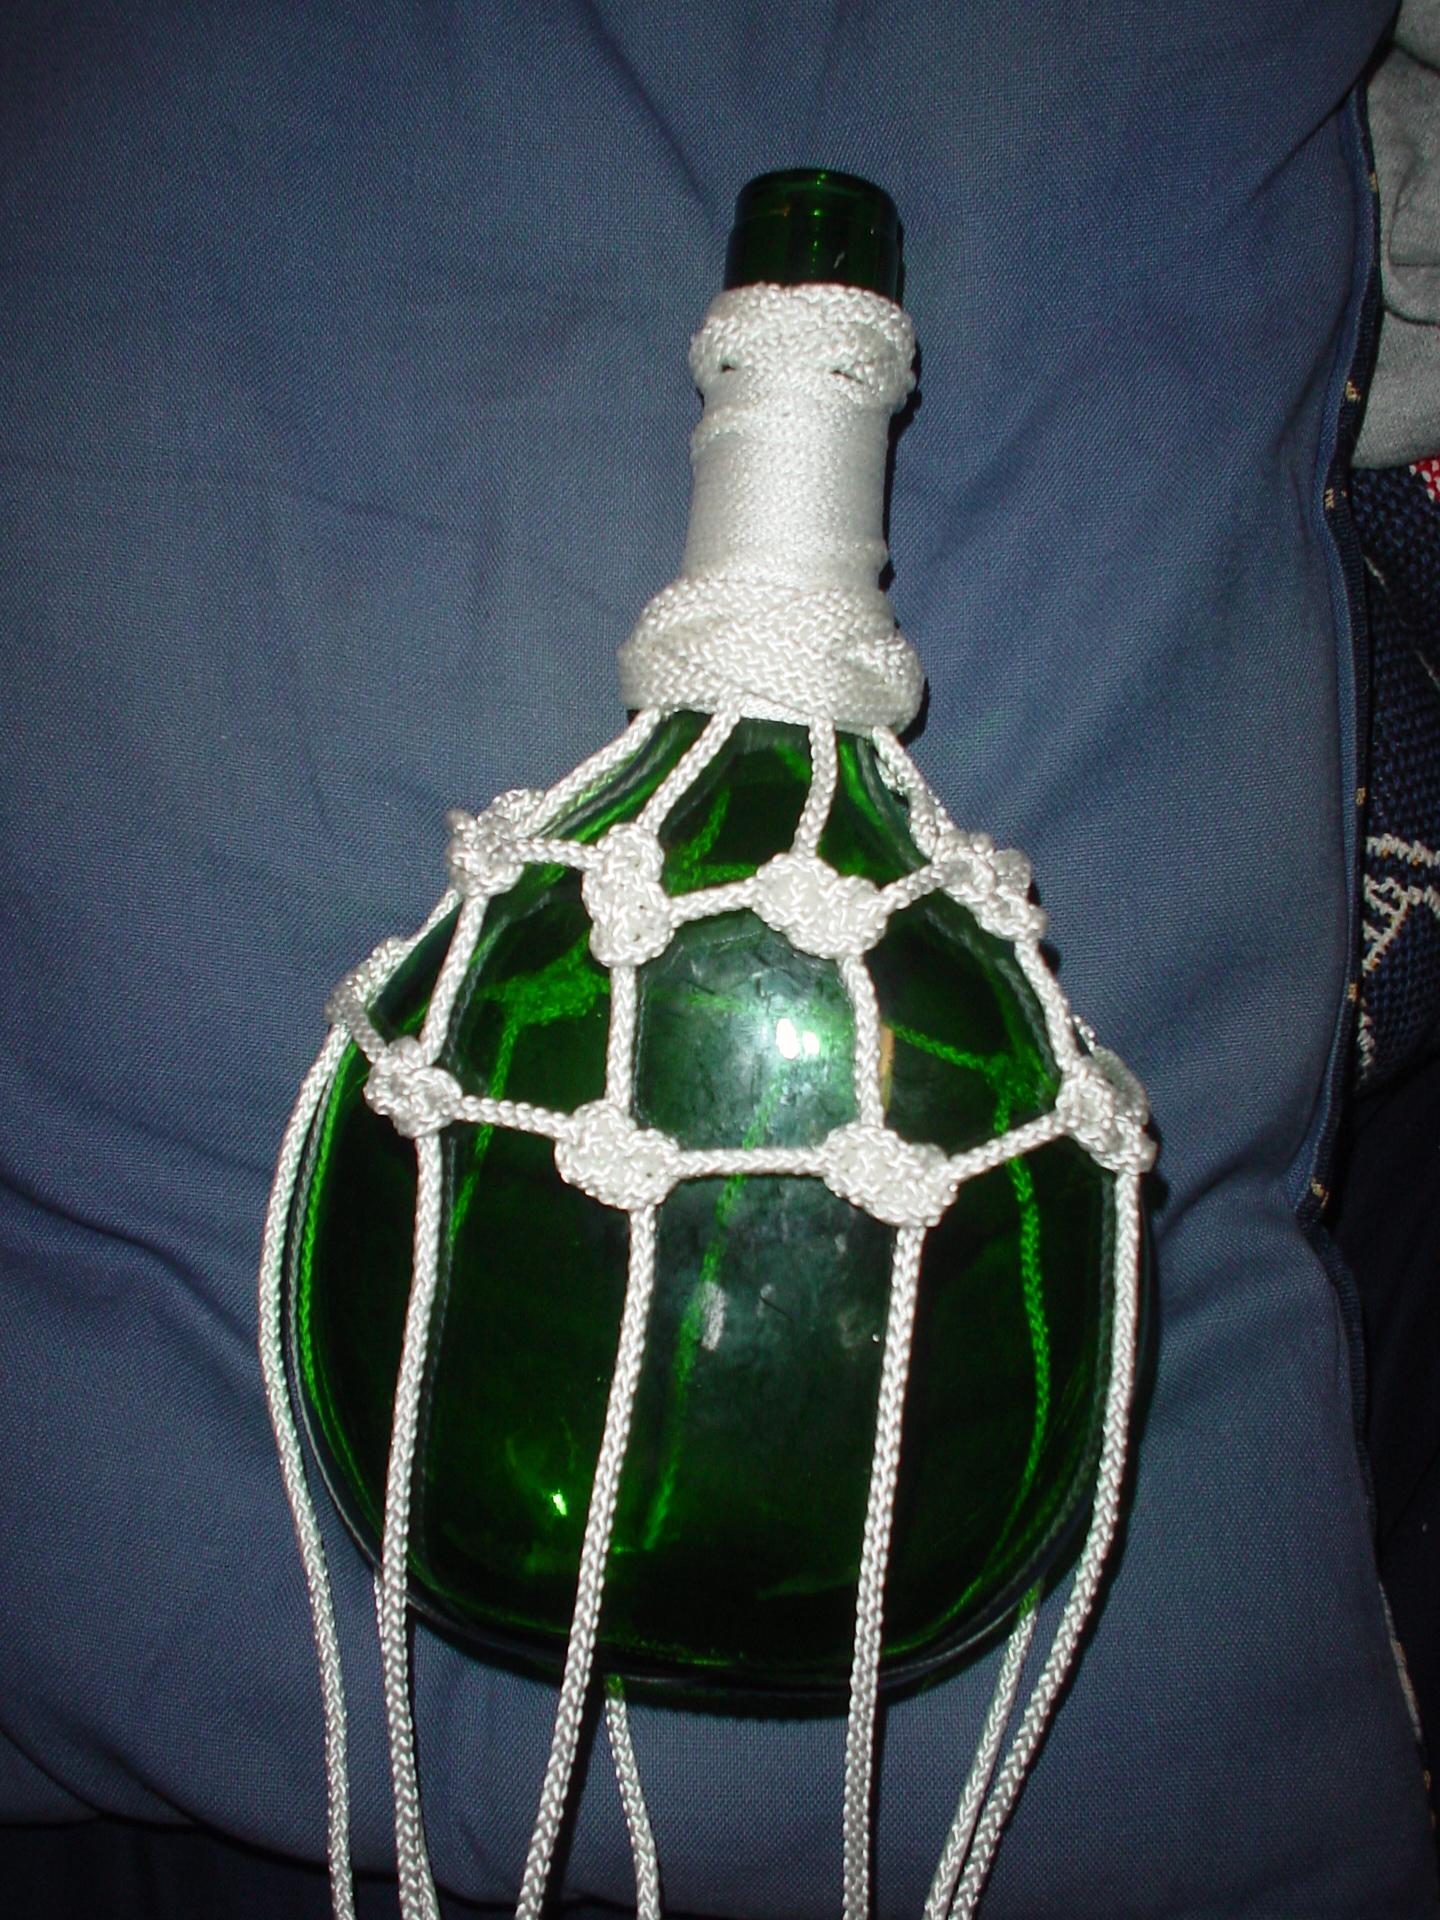
|
The netting partially completed. Basically, it's a series of Carrick Bends that all work together to form a net. |
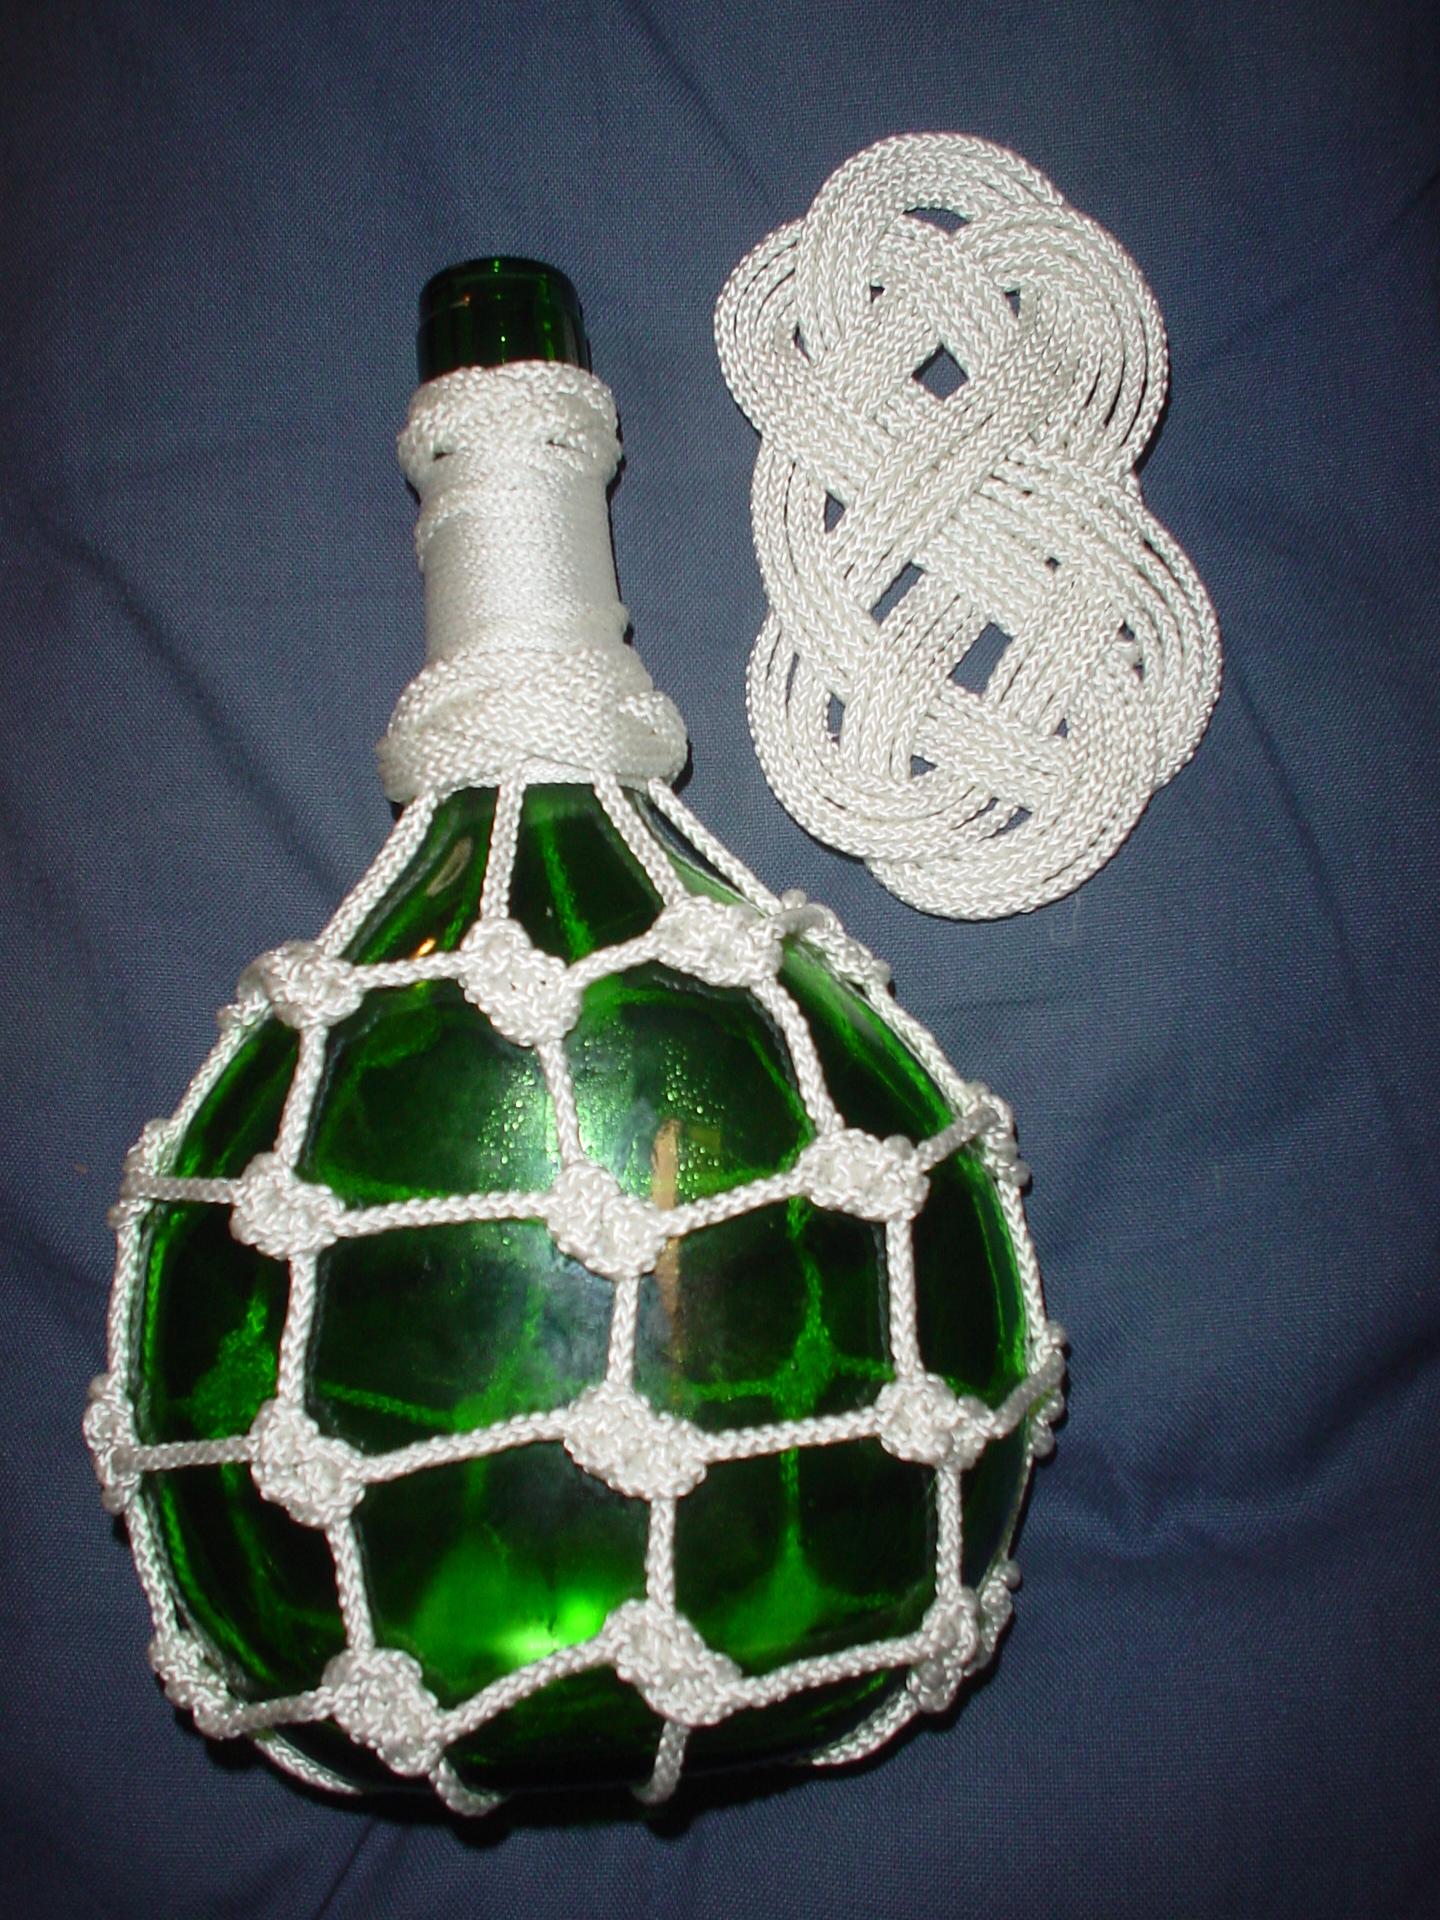
|
Here we have the completed netting and an Ocean Plat / Ocean Plait ready to go onto the bottom to act as a coaster and to hide the netting lines' termination. |
|
Here's the bottom of the bottle with the ends of the netting lines terminated, pulled tight, and sewn to their opposite partner. The Ocean Plat / Ocean Plait will be sewn to the bottom. |
|
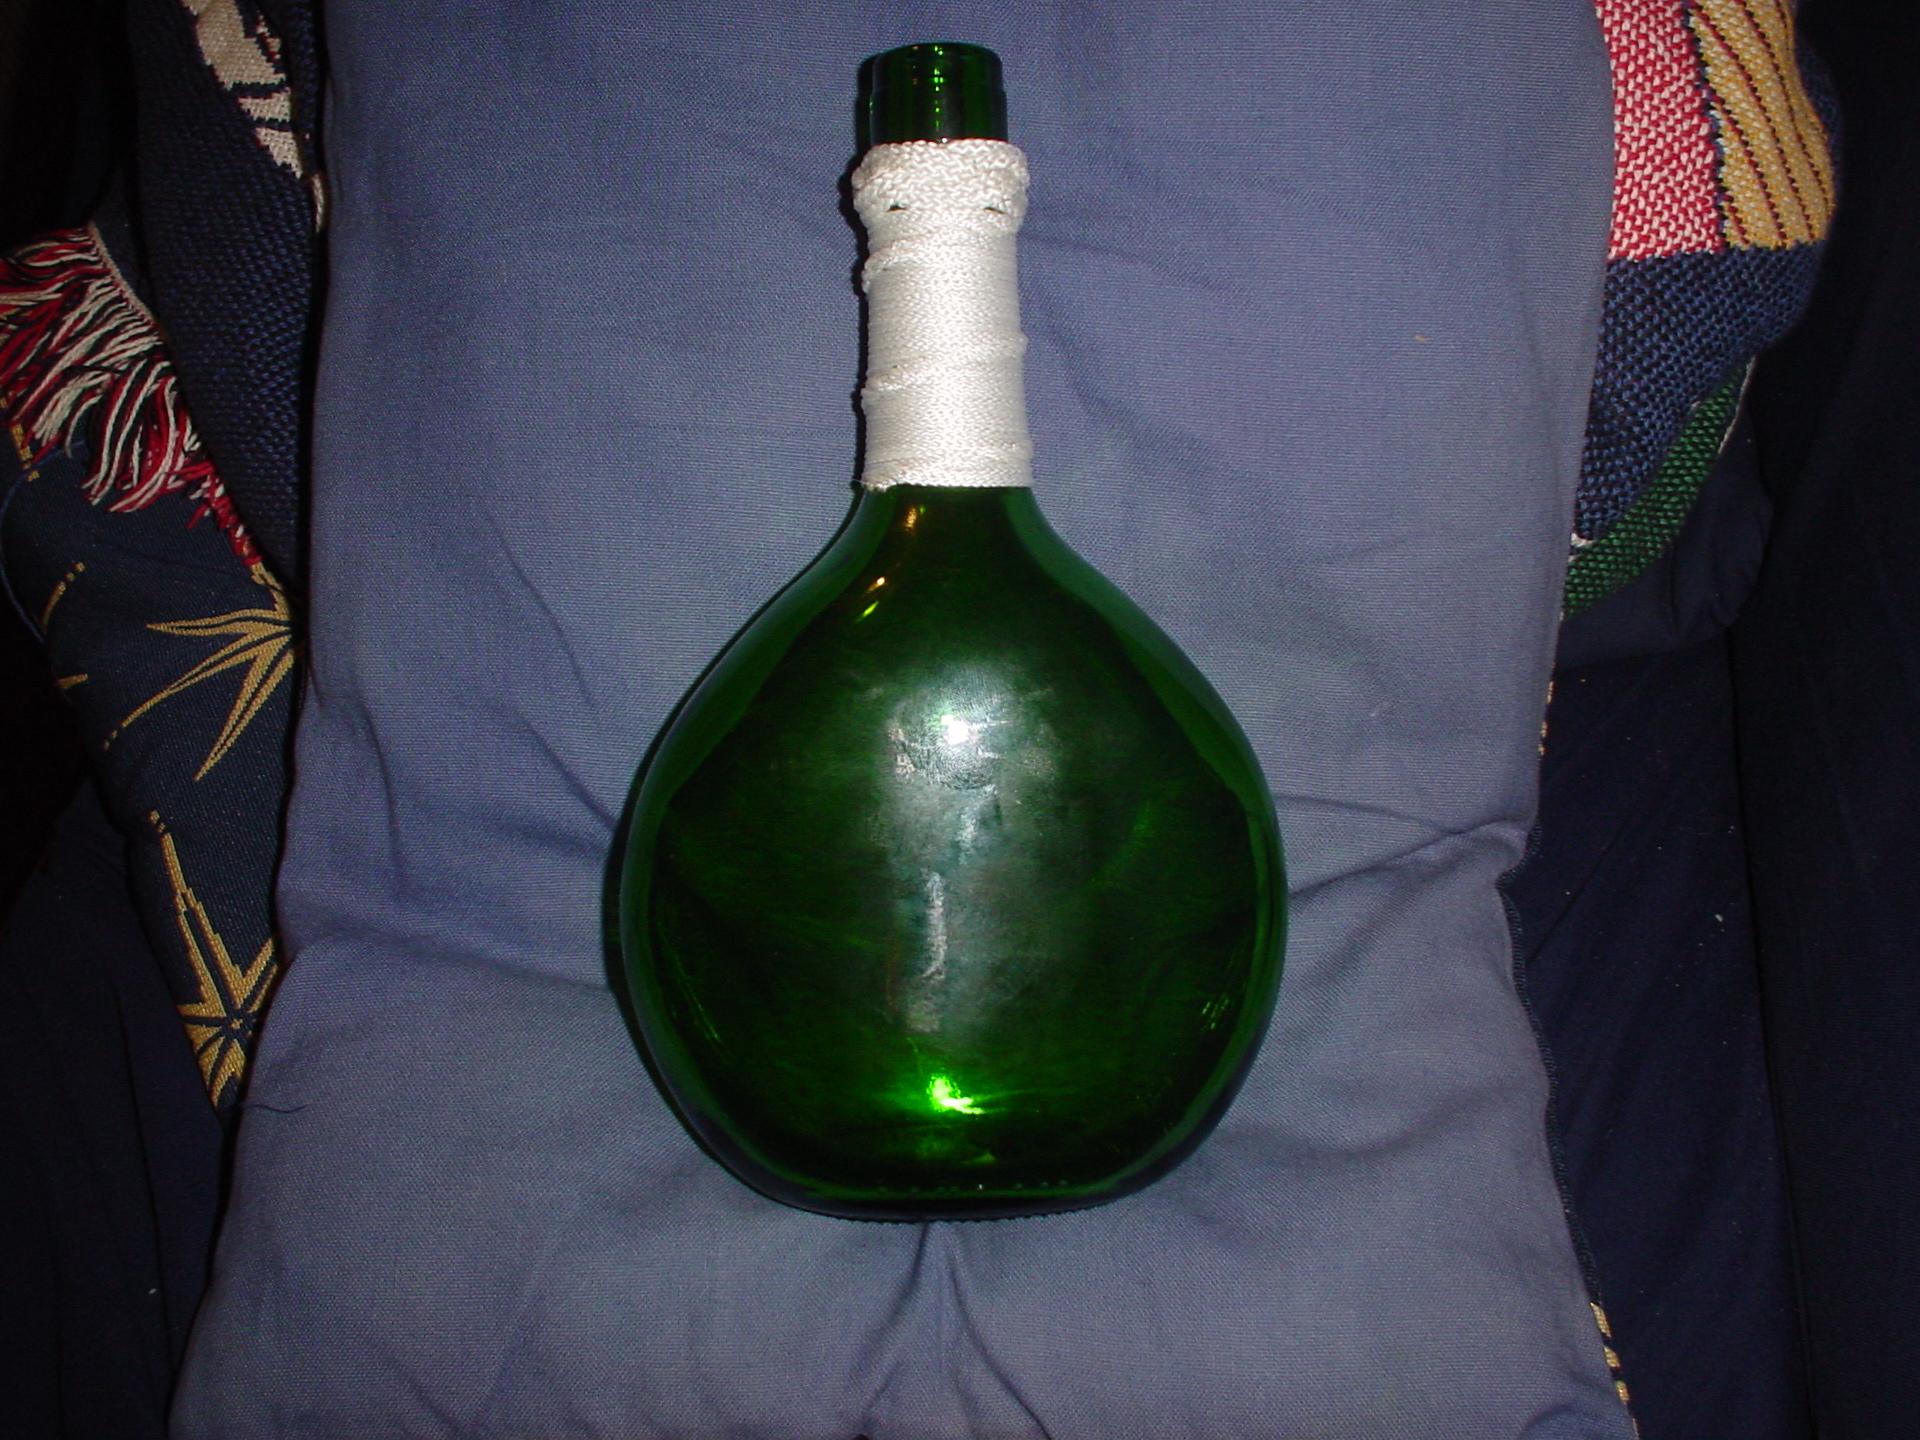
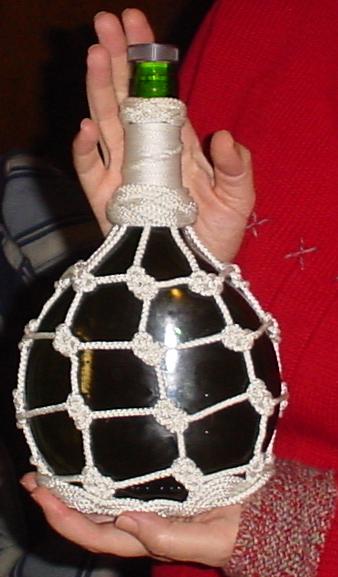
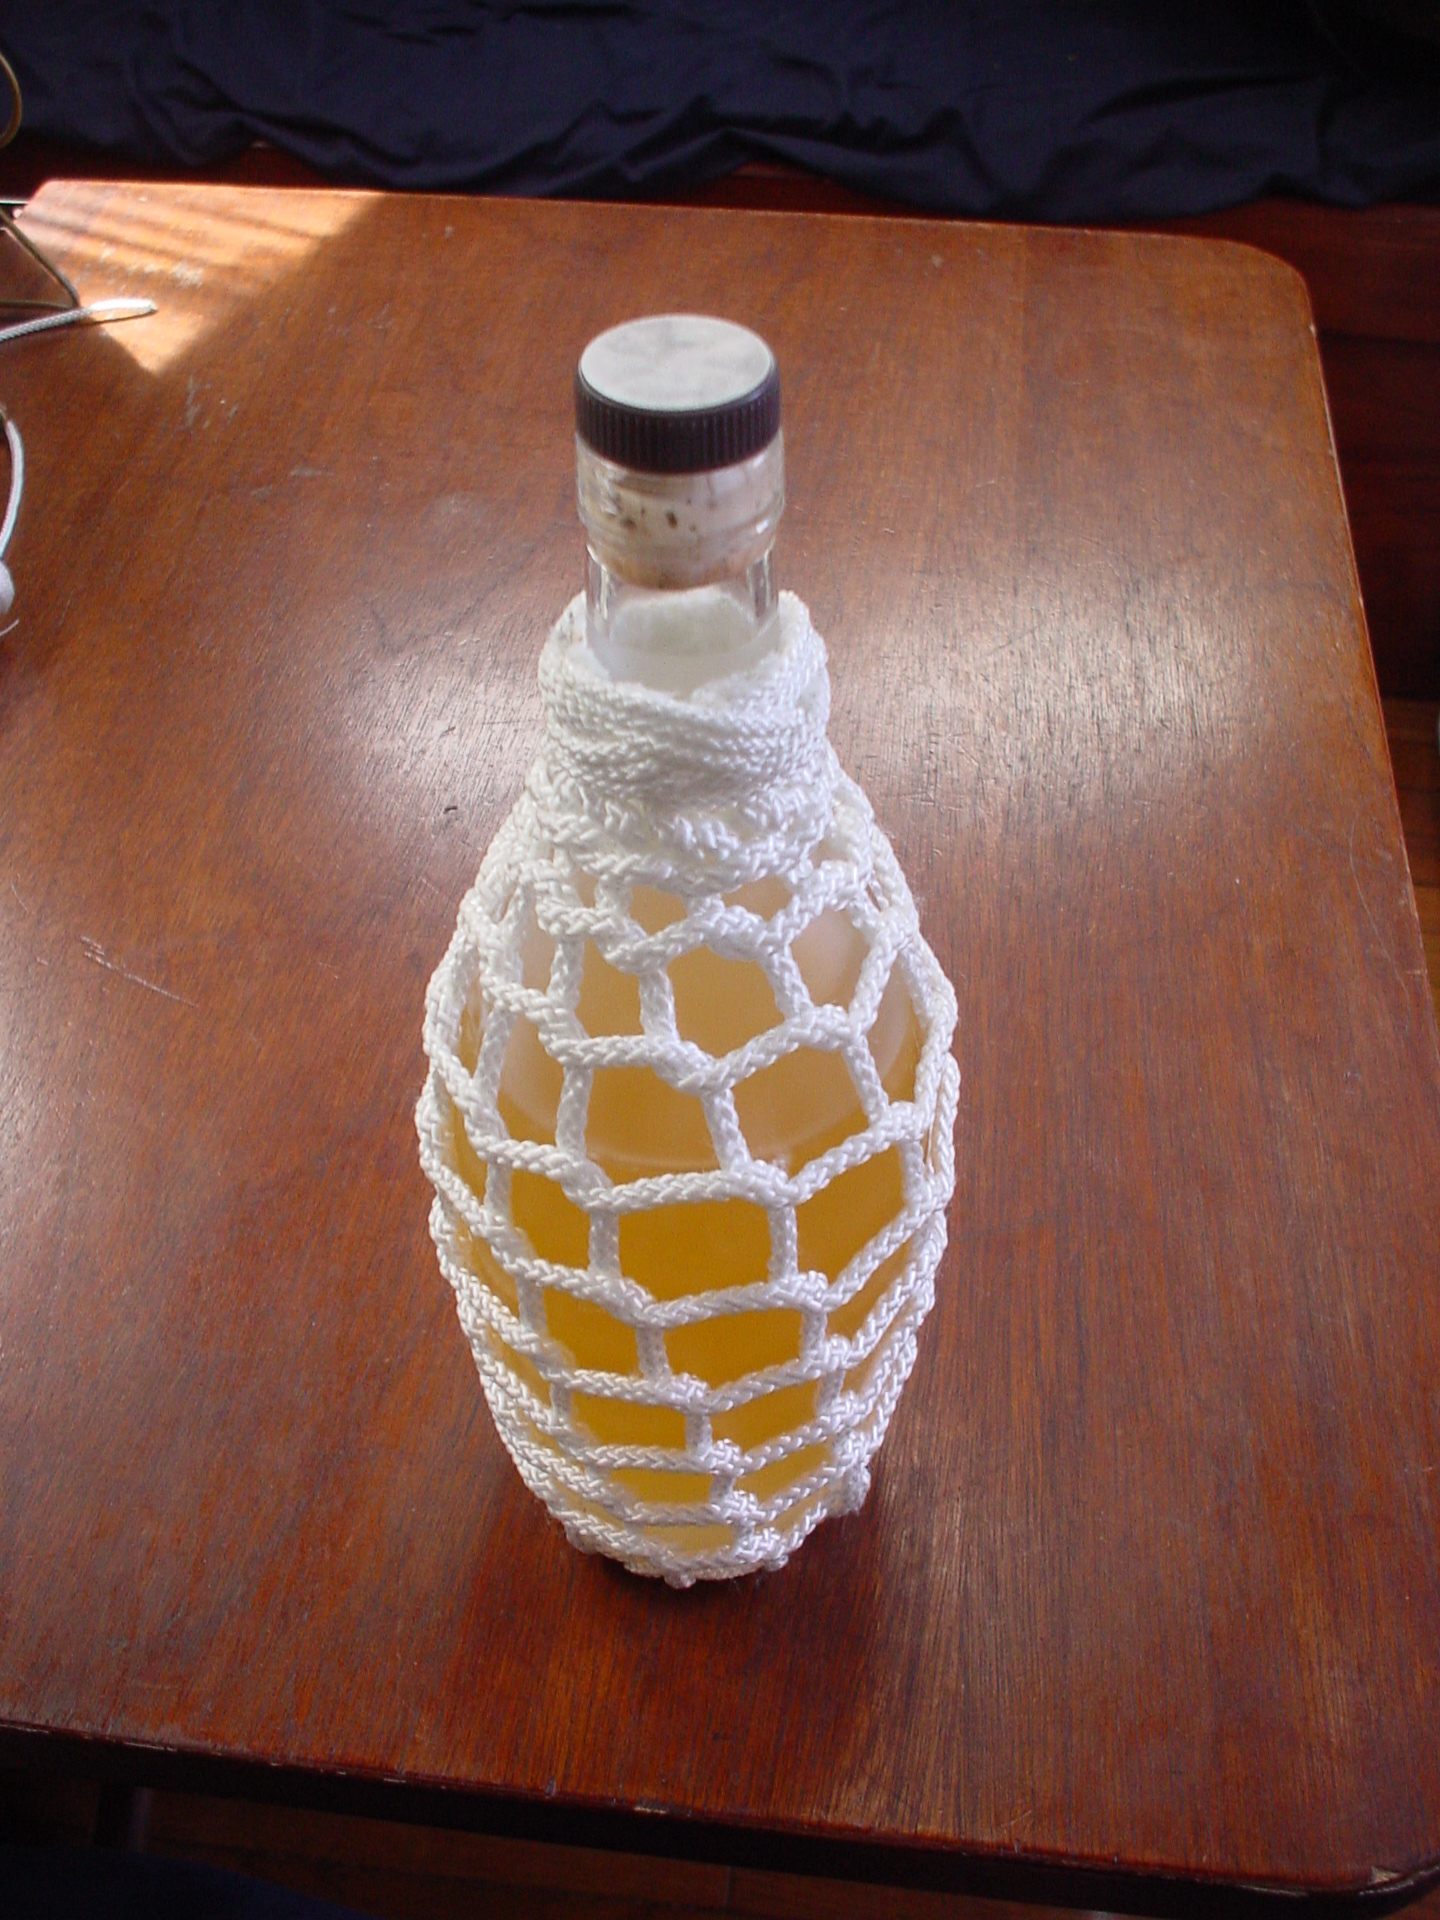
Here's the completed bottle. |
|
And a shot of the bottom. |
|
And Miss Angi showing it off :) |
© Copyright 2008
David S. Malar and Angelika Jardine. All rights reserved.
Home -
www.selfmadesailor.com
Website Design and SEO (Search Engine Optimization) by VentureIT.ca